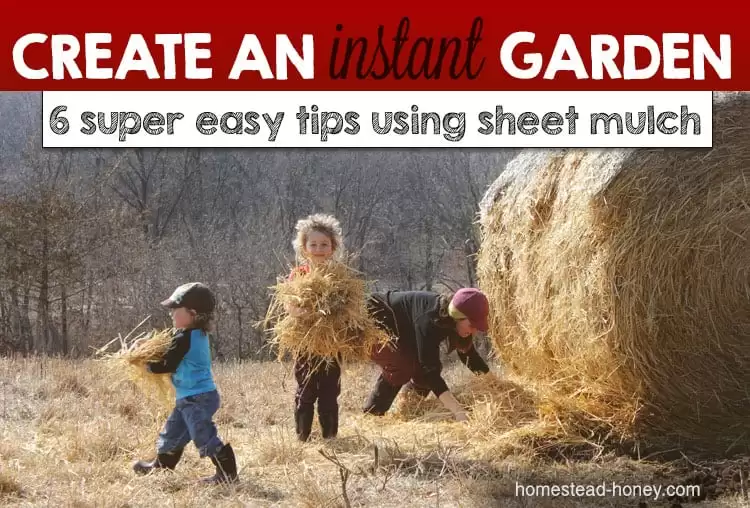
This weekend I took advantage of the gorgeous sunshine and direct-sowed some spring crops – peas, lettuce, spinach, radish, and kale – in the lovely raised beds of our house-sitting home. Thinking ahead to our move in May (ish), I’m also creating a summer garden space on our land with the sheet mulching technique.
Sheet mulching is a way to create an instant garden by deeply layering organic materials. If you have a large backyard, imagine turning a corner of your lawn into a space to grow food! On our land, we will most likely plow a piece of earth in the fall for next year’s planting, but this summer sheet mulching will create an immediate growing space, with no tilling.
Sheet mulching is very similar to making lasagna – layer, layer, layer. In fact, some folks call this the “lasagna method.” It can be done with a wide variety of organic materials, some of which are likely available for free or cheap: straw, hay, leaves, wood chips, manure, compost, food scraps, cardboard, newspaper, or grass clippings. If you’re a visual learner, you might enjoy referencing Toby Hemenway’s diagram of sheet mulching here.
So here’s how it works:
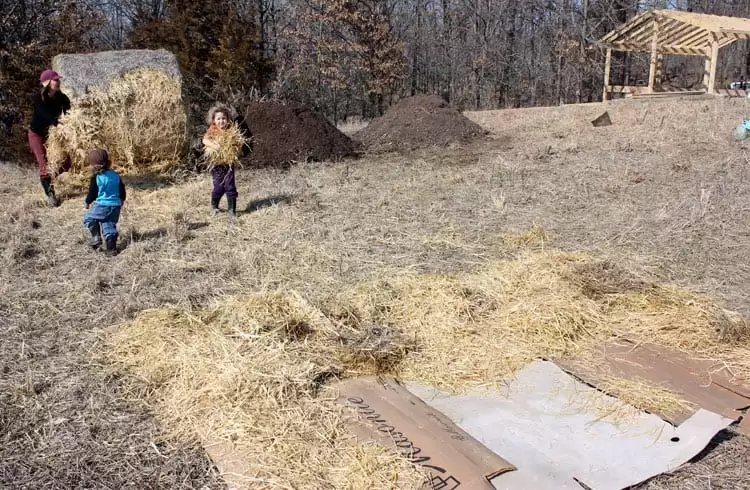
1) Get yourself some big old piles of organic matter! We bought a huge straw bale, but were able to source free horse manure and amazing finished compost from the local university farm. Many years ago, I sheet mulched a garden over the course of several months so I never had huge piles like these; I just added leaves, food scraps, manure, etc. as I acquired it.
2) Lay down cardboard (remove the tape!) or newspaper as a base layer to smother any weeds. If you want to add any soil amendments (lime, rock dust, kelp meal), put these in direct contact with the soil, before laying down the cardboard. Wet this layer.
3) Layer your organic materials, watering as you go. Since we don’t have water out on the land yet, I decided to really model lasagna and do many smaller layers of straw alternating with horse manure. Rain will help wet the straw, and my thinking is that the horse manure will more readily decompose the straw if added in thin layers. Some people prefer a 12-18″ layer of straw/leaves/hay followed by a thin layer of manure. Do what works for you!
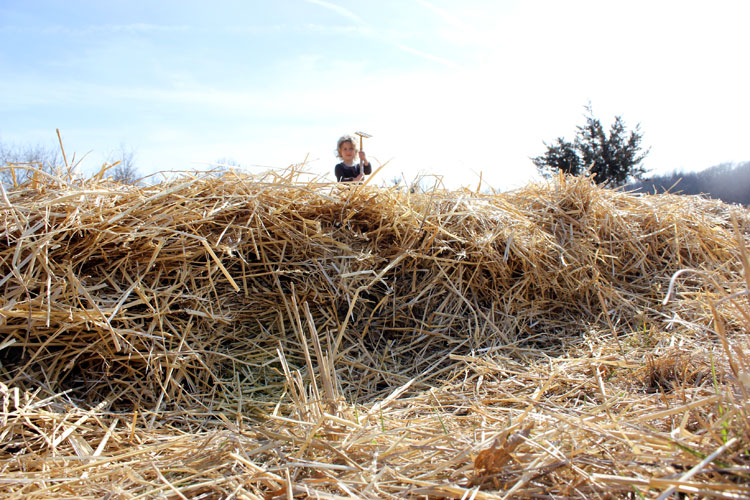
4) Continue working in this manner until you create a VERY thick layer of materials. Remember that it will break down over time and will shrink considerably!
5) To finish, add a layer that you will plant into, such as a finished compost. Make it thick – around 2-3 inches is great. Top off the pile with straw, sawdust, leaves, or wood chips – something that will hold moisture and prohibit weeds. I will be direct seeding many summer crops, so my personal preference is to let the plants grow to a few inches height before adding the final layer.
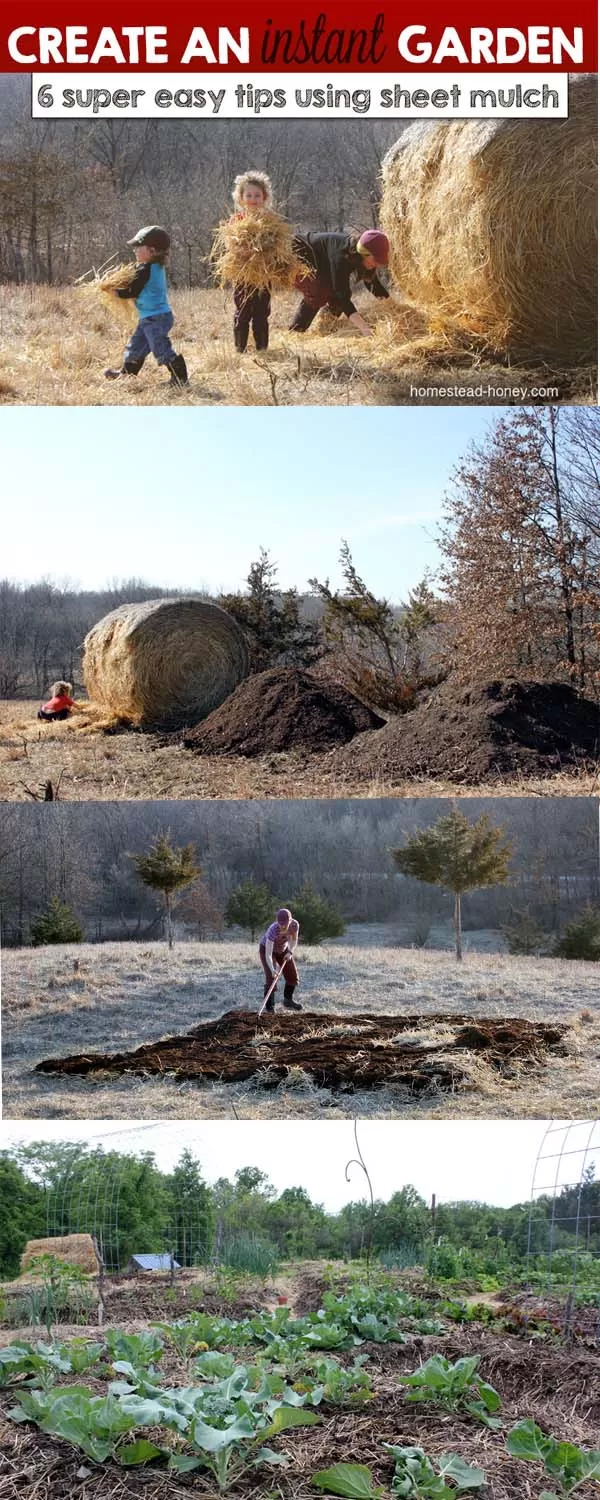
6) Now you are ready to plant directly into your new garden. Before long, your pile of straw and manure will turn into rich, dark soil, and the cardboard will break down, allowing roots to penetrate the soil below!
** Want to see how this sheet mulch pile turned into amazing soil? Check out this post!
Pin it for later:






So – I read all of this very interesting material on sheet mulching – unfortunately right after I finished planting two gardens – a smaller one for potatoes and a larger one for corn, peas, beans, beets, onions, cucumbers, carrots and garlic. Now that it’s all planted can I do the sheet mulching between the rows and plants to keep the weeds down and will the mulch be ready to incorporate into the soil come fall when we rototill?
That sounds like a good plan, but whether or not everything will break down depends on what kind of mulch you’re using – for instance, shredded leaves or grass clippings will break down a lot faster than thick layers of straw. One of the benefits of sheet mulching is being able to ditch the rototiller. You might want to experiment with mulching around your planted crops – it can make the soil remarkably easy to work, and eliminate the need for much more than a bit of forking!
We have been using this method for several years now. The night crawlers also love paper towels!
That is good to know! We usually use newspaper and cardboard from the recycling center, and those are great too!
Yes, I did this before planting strawberries a couple of years ago. It worked great! That is it WAS working great till the chickens got in there and destroyed it! They sure did have a grand time scratching, scraping and digging. The only good thing was that they were so distracted by the fun that they left my strawberry plants alone.
Oh, I know! There have been a few times that we accidentally left the garden fence open and the chickens had a grand time! The worst, though, was skunks crawling under the fence – they were drawn to garden grubs in the soil, and totally destroyed the edges of the garden!
Thanks for sharing, I had planned to do sheet mulching this weekend, never done it before so while I read about it before your post had perfect timing to remind me of what needs to be done
Glad it could be helpful! I hope it goes well for you this weekend!
Love this! Sharing it with my readers and who knows we might do this in our garden, come spring ;)! Thank you so much for sharing!
Glad you can use it! We had a very successful garden last summer with these new beds.
love the idea and the pictures
Thanks! It can be a lot of hauling and shoveling, but the end results are worth it!
looks like you have great helpers to make the job an easier & fun one
They are very helpful, most of the time! Just have to remind them that the manure goes ON the pile, not off!
Reblogged this on DIY or Die: Survival in a Post-Apocalyptic World.
Thanks for sharing!
Would you be willing to share how much cost was for the huge straw bale- i’ll be looking into buying one of these myself and want to gage an idea..
One year they were around $50, the next a bit more expensive $60 or so. If you’re just looking for mulch material, you might be able to find some that have been rotting in the fields and would be significantly less $.