This past weekend, my 6 year old daughter Ella and I participated in a natural dyeing workshop taught by my friend and neighbor, Julia. I’ve dabbled in natural dyeing before, but have never gone through the entire process from beginning to end, including using pre-mordants. My experience had been limited to using white vinegar as a mordant. I’m excited to share with you what I learned, keeping in mind that I am an enthusiastic novice!
Natural Dyeing with Plants
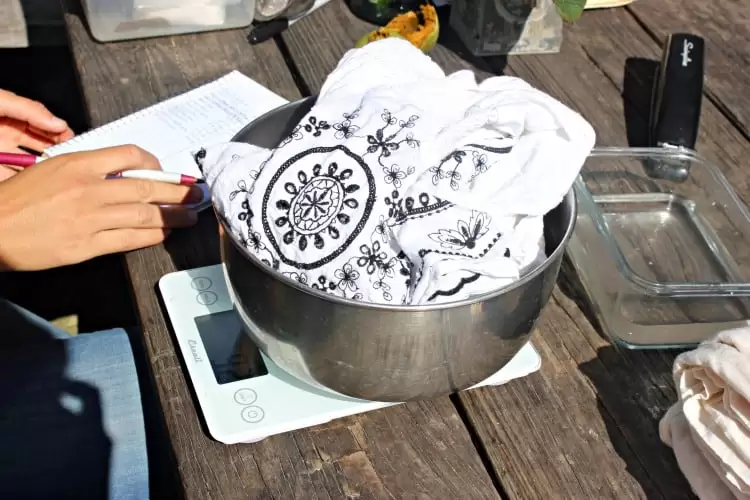
1) Weighing the Fabric: First, we weighed the fabric that each participant brought to dye, breaking it up into two classes: protein-based fibers such as wool and silk, and plant-based fibers such as linen and cotton.
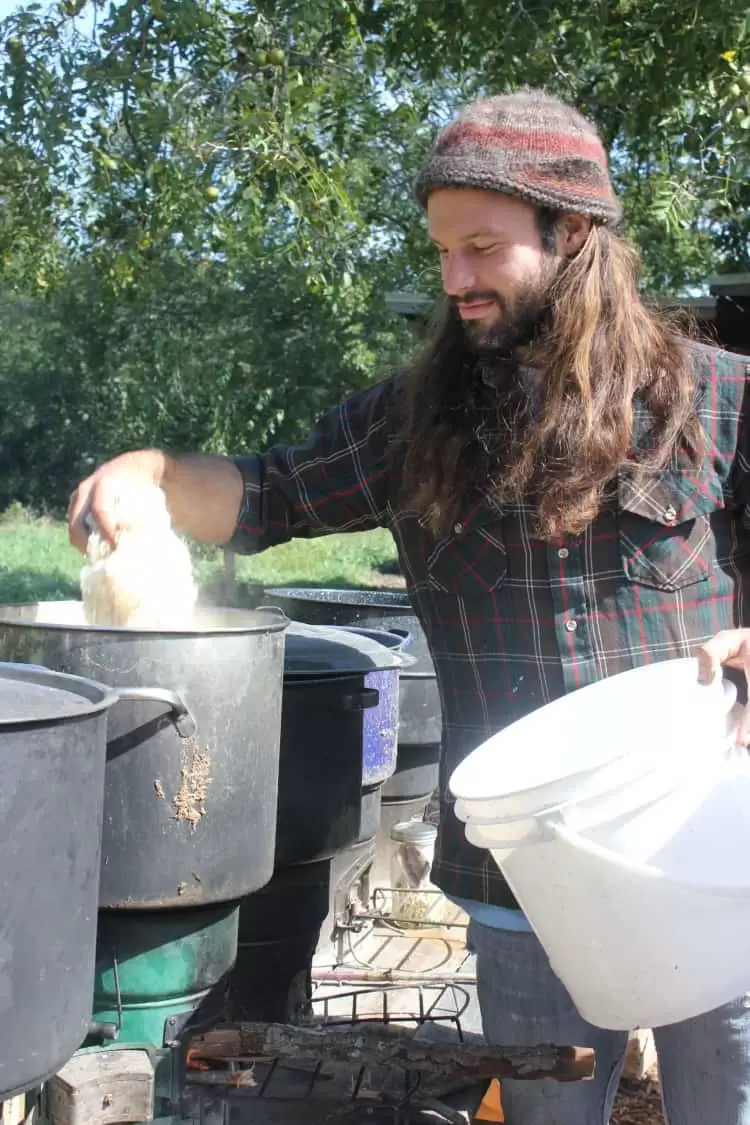
2) Pre-Wash: Next, our fire-master Mike (also my neighbor), helped pre-wash the fibers. Again, they were separated into protein-and plant-based fibers.
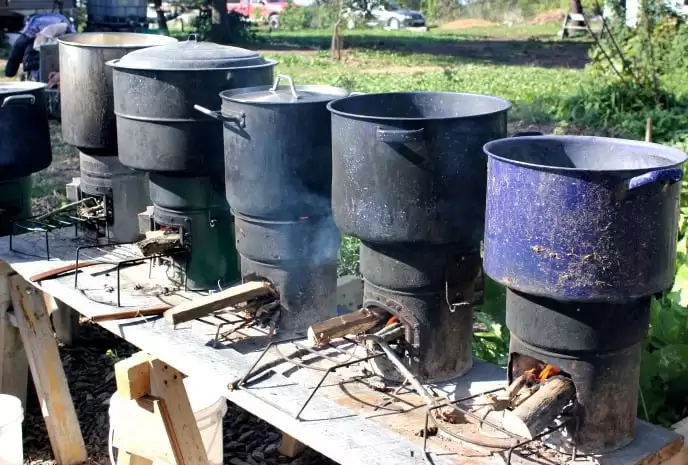
(Man does that community collection of Rocket Stoves sure come in handy for an outdoor Natural Dyeing class! We had six going at a time!)
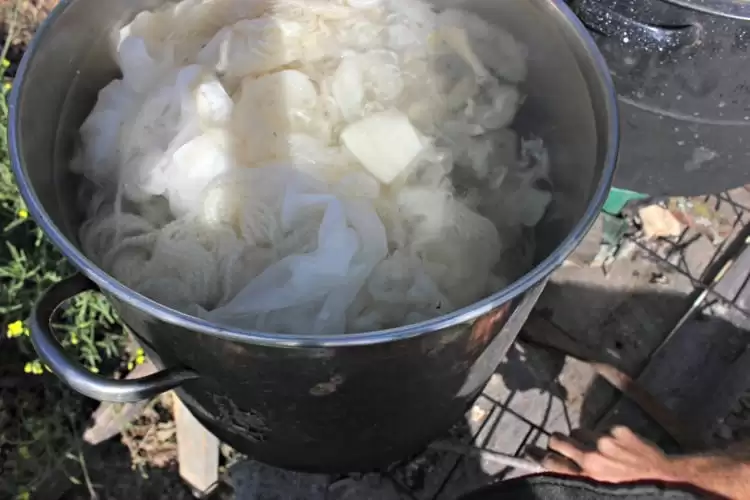
3) Pre-Mordant: After the pre-wash, we measured out appropriate amounts of the pre-mordant, Alum. The mordant helps the dye adhere to the fibers, and helps create an end product that is color- and light-fast. The fibers simmered in the mordant for one hour.
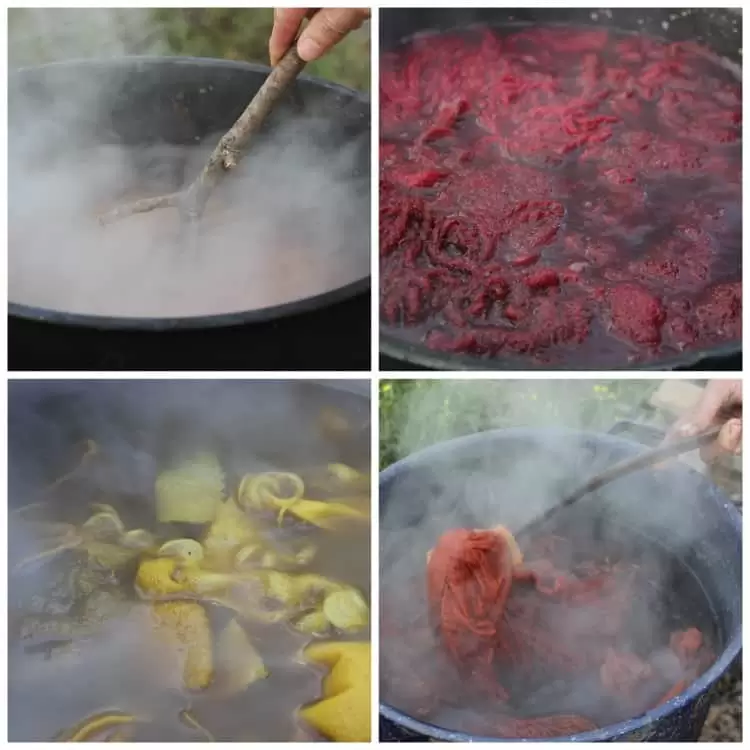
4) Into the Dye Pots! Next, it was time to add our fabric to the dye pots! Julia had pre-prepared six dyes made from plants on her homestead, and in the neighborhood. I helped her gather goldenrod, and was able to gather a very large bag-full just by strolling along our pasture path with clippers in hand!
The plants that we used, and the color they created were:
- Pokeberry – Bright Pink (Note: Pokeberries are toxic to ingest, so keep a close eye on children)
- Goldenrod – Bright Yellow
- Bidens (Tickseed Coreopsis) – Orange
- Wild Sunflower – Yellow Orange
- Comfrey – Greenish Yellow
- Black Walnut Hull – Brown
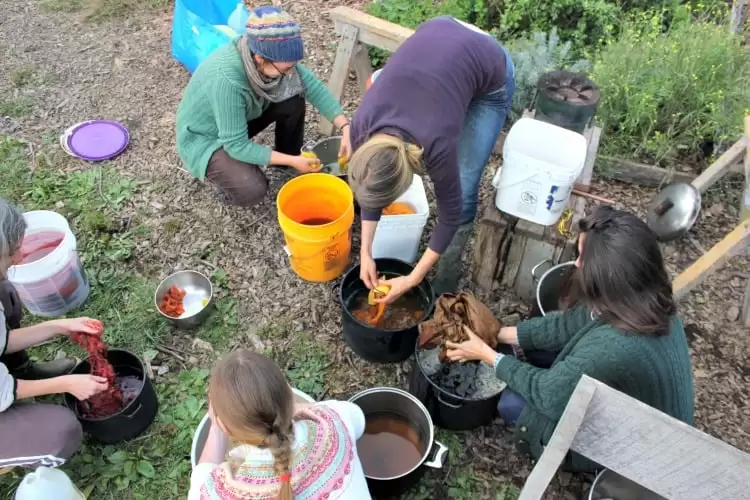
5) Wash and Rinse: After an hour of simmering in color, we removed the fibers from the dye pots, washed them with a bit of mild soap, then rinsed them thoroughly.
6) Dry and Admire!
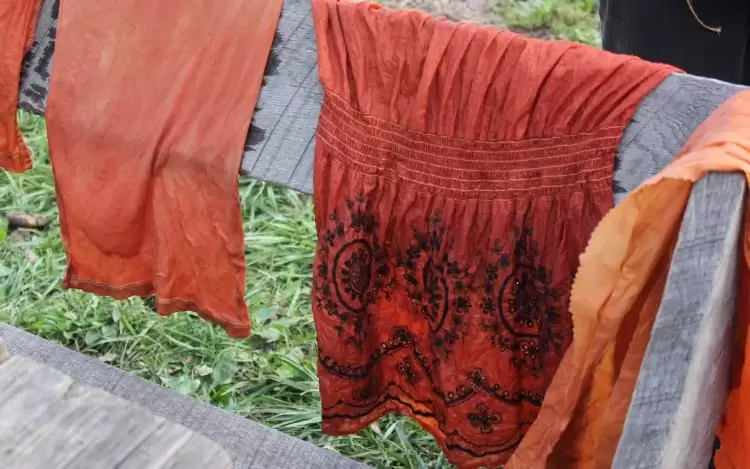
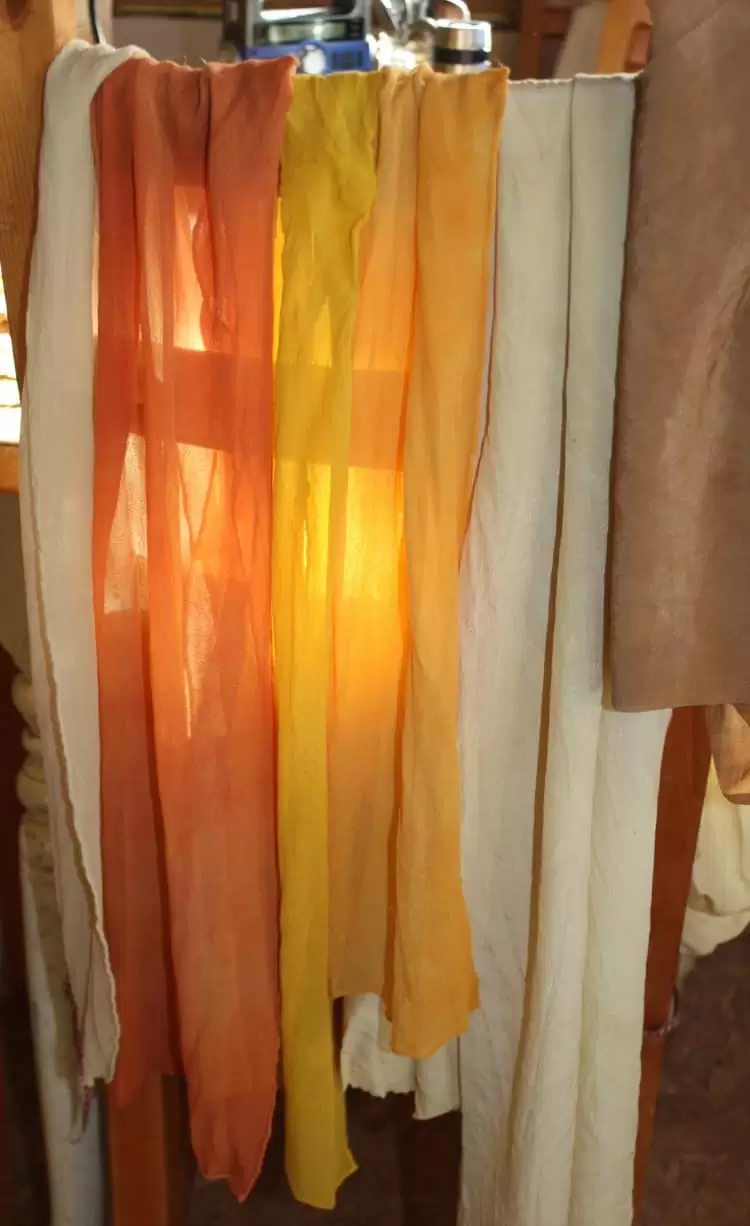
A previously white shirt, turned brilliant orange in the Bidens dye.
We came home with an assortment of silk chiffon and silk crepe de chine play scarves. From left to right, the colors were created with Comfrey, Bidens, Goldenrod, Wild Sunflower, Comfrey, and Black Walnut.
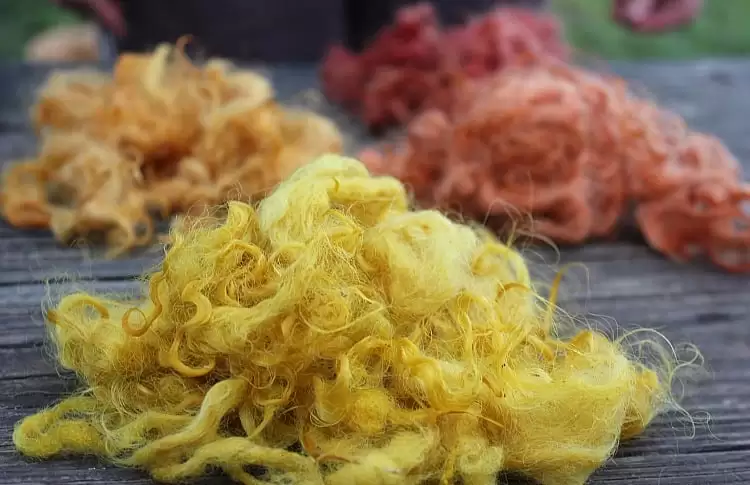
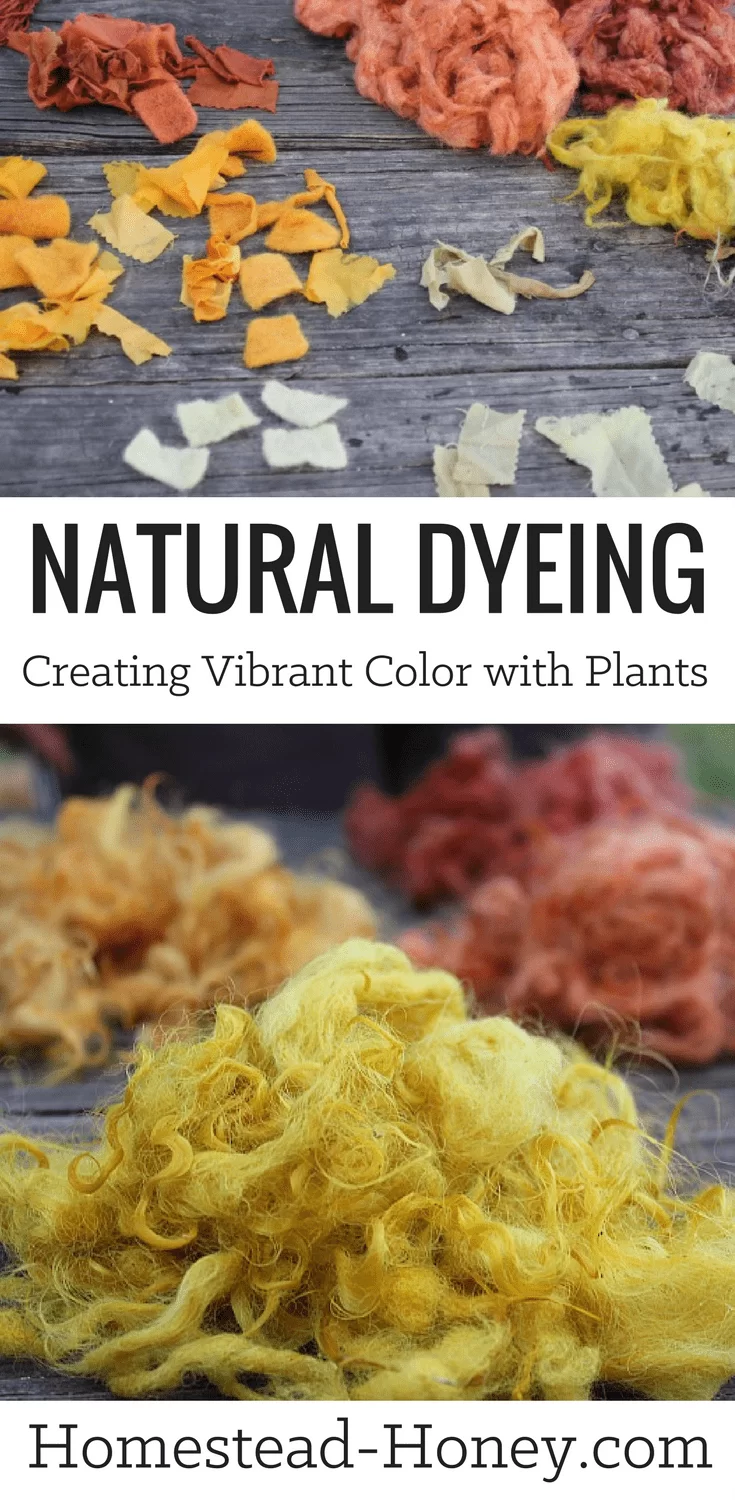
This may be my favorite image from the class – a gorgeous collection of wool fibers that a friend dyed. The wool took up the color so brilliantly.
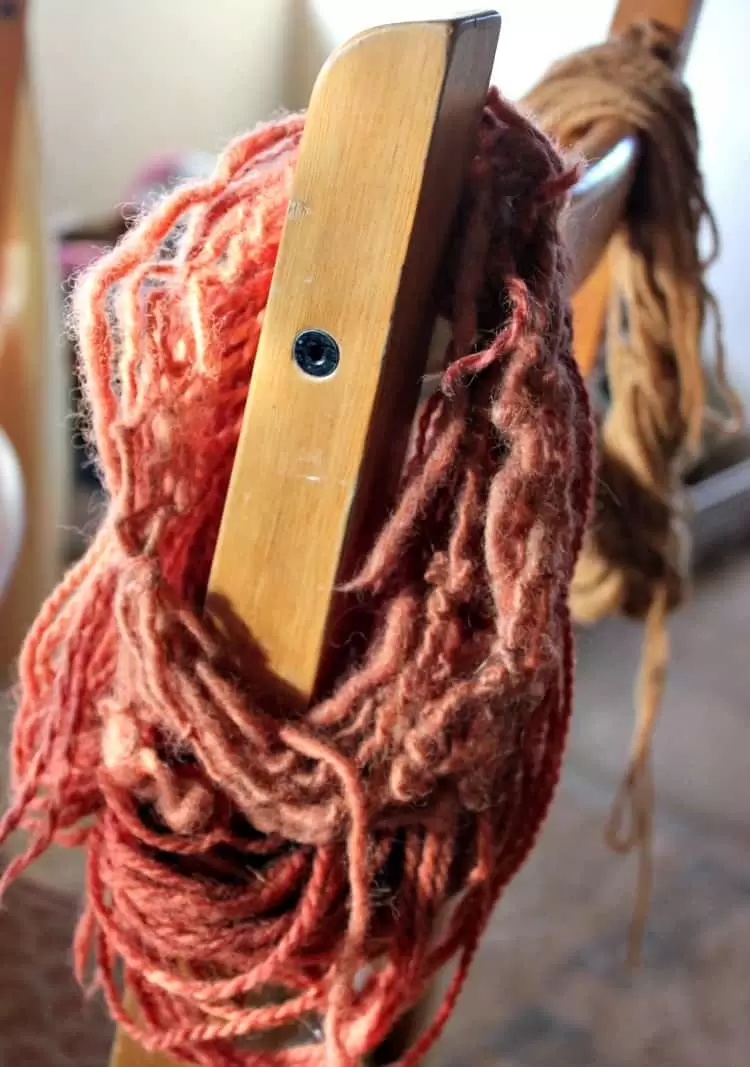
Ella and I dyed some wool in anticipation of her learning to knit in a few weeks! The front yarns were dyed with Pokeberry, and the skein in the rear with Black Walnut. Black walnut is an incredibly versatile colorant that can even be used to make a DIY ink!
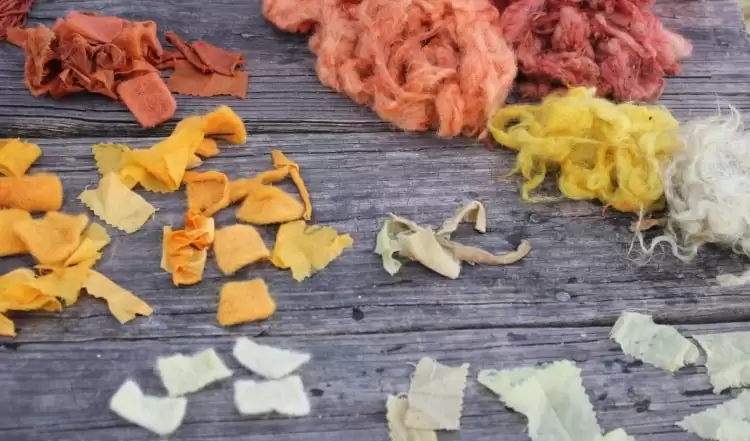
We all went home with sample swatches of different fibers – wool, silk crepe de chine, raw silk, cotton, and jersey. It was so fascinating to see how differently each fiber absorbed the color. For instance, the Pokeberry dye resulted in a gorgeous and intense pink color on wool, but on silk was a very pale pink. My friend Janet at Timber Creek Farm has written a great post on Pokeberry dye for wool and yarns.
7) Learn more!
A few books that I recommended for further reading are:
Harvesting Color: How to Find Plants and Make Natural Dyes
Wild Color: The Complete Guide to Making and Using Natural Dyes
Have you ever done Natural Dyeing? What was your favorite dye plant?





I love this post and have done some natural dying I have dyed wool for knitting as well as reed for basket weaving my “WILD” baskets using black walnut as well as elderberry. I used vinegar and iron as mordants . I also grow woad and sell the seed. . but have yet to try dying with it. I want to get that blue color . I also want to grow some indigo . I have wild blue indigo but not the japanese indigo . I also want to try using nettle for a deep green . Thanks for the info :)Sharon
I bet the baskets are gorgeous with those natural dyes! We are planning to do some indigo dyeing, and I know my neighbor is interested in sourcing some Japanese indigo to grow, if possible. It’s such a fun experience!
Did they mention anything about allergies? Like what if someone has a walnut allergy, will the dye affect that? I’m just curious.
I am not sure about that. When you prepare the dye, you are working with the plant material directly, so if coming into skin contact with walnuts was something that caused an allergic reaction, then you’d probably want to avoid that particular dye. My guess is that it would depend on how sensitive a person was to the allergen.
This is so beautiful and I really appreciate you sharing! I am curious, though, about how to actually go about getting from Point A to Point B with natural dyeing. I don’t feel very clear on the process from reading this. My questions are: how does weighing the fabric come into play? I’m guessing this affects ratios of how much of whatever you’re dyeing with to put in, but this wasn’t entirely clear. Also, how do you actually do the dyeing? You mention the plants you used for dyeing and what colors they make, but I’d love to hear about how much of each to use, what to mix it with, and what to actually do to make it dye something. It feels like you already have to have a fairly extensive knowledge of dyeing to follow this post. I’d love to this to be more accessible and show how to dye things. Thanks!
Hi Rebecca,
Yes, I can see how the post would not give you that information. Unfortunately, I am really pretty new to dyeing and I would hate to give incorrect information. I did my best to take notes during the workshop, but what I ended up with most of all were beautiful photos and the desire to share my experience in hopes of inspiring others to look into natural dyeing.
The books that I mentioned in the post are great resources that maybe your public library would have.
Here is a good read as well: http://joybileefarm.com/weeds-natural-dyes/
If I come across other blog posts that might be helpful, I’ll be sure to add them to the comments.
This is so cool!! I didn’t know anything about the process, but am so intrigued with it.
Also – how amazing are those rocket stoves. I am officially going to make one this winter. I just have to know how to do this.
Thanks for sharing, friend!
Glad you liked it! it was such a fun process, and I am excited to learn more. I keep wishing I had brought more wool to dye!