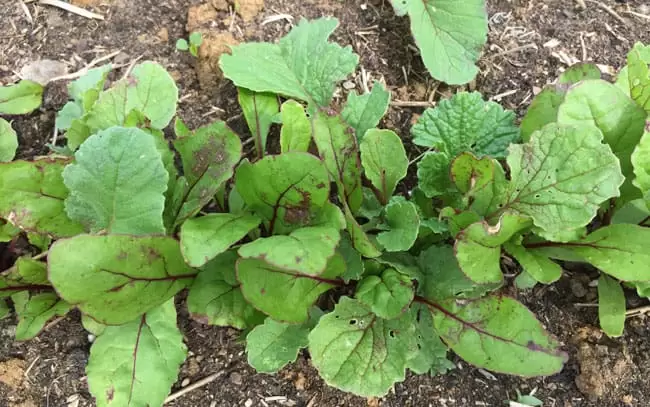
Each spring I sow radish seeds amongst my beets and carrots. Because radishes are such a fast-growing crop, I’m able to harvest them when the beets and carrots are still young, allowing plenty of space for the root vegetables to continue their growth. And while radishes are a treat to eat fresh in salads, or to dip in Zacusca or hummus, after a while, I find myself getting a bit radished-out. That’s when I reach for a quart jar and make a batch of lacto-fermented radishes.
Lacto-fermented radishes are made with the same basic technique as lacto-fermented pickles and garlic scapes: The vegetables culture in a salt brine with spices or herbs for several days until your desired level of pickled flavor and texture is reached. It really is that simple. What is nice about this lacto-fermented radish recipe is that it mellows out the heat of the radish, adding a salty tart flavor that is an amazing accompaniment for heavier dishes like enchiladas or meat stews.
How to Make Lacto-Fermented Radishes
Step 1: Pick your radishes!
Harvest and wash your radishes (or rinse store-bought radishes), remove the green tops and cut them into quarters or slices.
Step Two: Prepare the brine
A brine is simply the salt water solution in which you will ferment the radishes. The addition of salt keeps unwanted bacteria from flourishing, while allowing the lactic acid fermentation process to develop crispy, flavorful vegetables.
I like to make a gallon batch of brine and have it at the ready for fermenting vegetables, but if you’re fermenting in a quart mason jar, you will want add 2 TBSP salt to 1 Quart of water and shake to dissolve the salt completely.
Step Three: Pack the Radishes
Next, you will pack your sliced or quartered radishes into a clean wide-mouth mason jar. Also, if you wish to add any other seasonings, like garlic, dill, caraway seeds, or peppercorns, this is the time to do so.
Step Four: Add the Brine
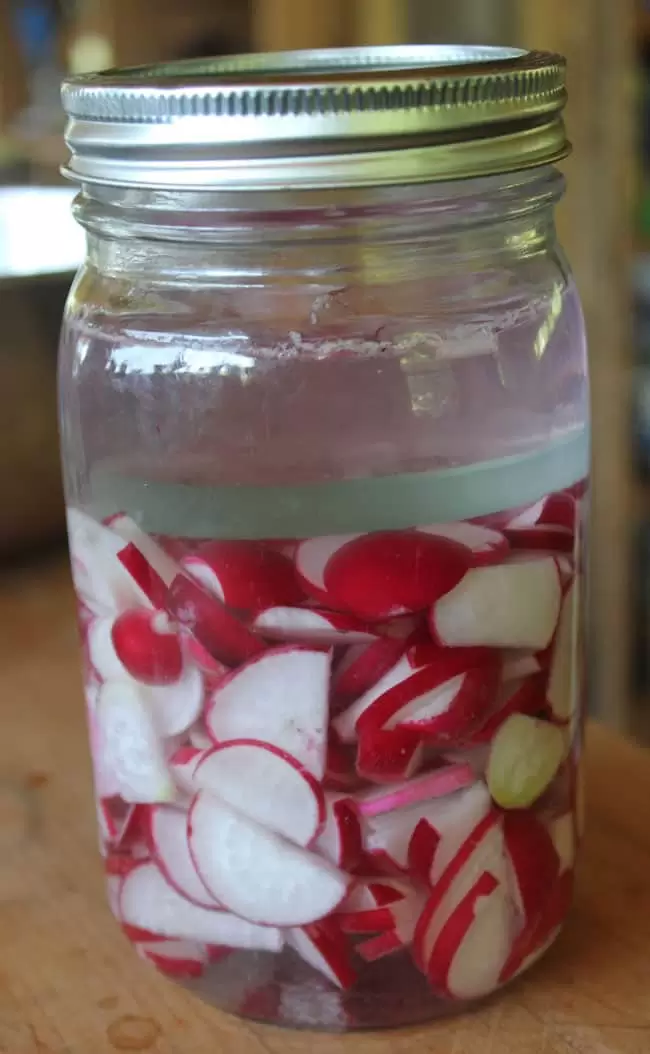
Next, pour your saltwater brine over the radishes, ensuring that they are covered completely. You may need to weigh down any floaters with a clean rock, or a glass weight designed especially for fermentation.
Step Five: Ferment!
Place a lid loosely on the jar, and set the jar on the counter, or in another location where you will remember to check on the ferment daily. You will notice bubbles forming after a few days – this is completely normal and desired!
After a week or so, give your lacto-fermented radishes a taste. When they have reached your desired flavor, move them to the refrigerator or another cool location such as a homestead root cellar and enjoy!
Troubleshooting Fermentation Problems
At some point in your fermentation journey, you will likely notice a moldy layer developing on the surface of your brine. If it is a white surface mold, then go ahead and scrape the mold off carefully with a spoon, and continue with the fermentation process. If at any time you notice colorful molds or a funky smell developing (not a radishy smell, but a putrid smell), then discontinue the ferment. I have written a few blog posts about tips and tricks for successful fermentation and how to store and care for vegetable ferments that should help you out!
Lacto-fermented radishes are a wonderful way to preserve the bounty of spring and add a little kick to your meals. Let me know how you like them!
Lacto-Fermented Radishes
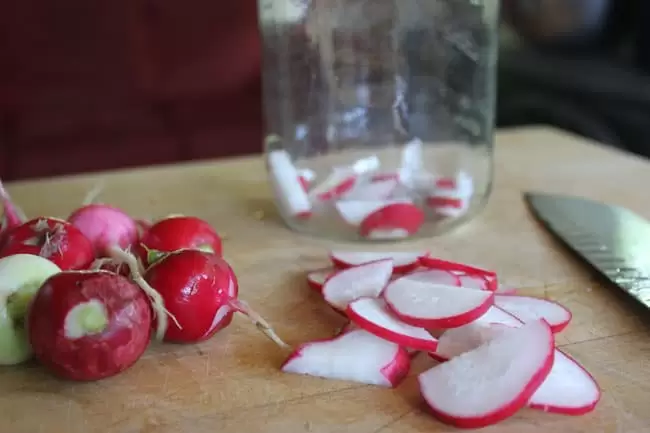
Spring radishes can be lightly fermented in a salt brine to make a delicious condiment. Learn how to make lacto-fermented radishes in just a few steps!
Ingredients
- organic radishes
- 2 tbsp salt
- 1 quart of water
- seasonings like garlic, dill or peppercorns
Instructions
- Pick your radishes: Harvest and wash your radishes (or rinse store-bought radishes), remove the green tops and cut them into quarters or slices.
- Prepare the brine: A brine is simply the salt water solution in which you will ferment the radishes. The addition of salt keeps unwanted bacteria from flourishing, while allowing the lactic acid fermentation process to develop crispy, flavorful vegetables. I like to make a gallon batch of brine and have it at the ready for fermenting vegetables, but if you’re fermenting in a quart mason jar, you will want add 2 TBSP salt to 1 Quart of water and shake to dissolve the salt completely.
- Pack the Radishes: Next, you will pack your sliced or quartered radishes into a clean wide-mouth mason jar. Also, if you wish to add any other seasonings, like garlic, dill, caraway seeds, or peppercorns, this is the time to do so.
- Add the Brine: Next, pour your saltwater brine over the radishes, ensuring that they are covered completely. You may need to weigh down any floaters with a clean rock, or a glass weight designed especially for fermentation.
- Ferment! Place a lid loosely on the jar, and set the jar on the counter, or in another location where you will remember to check on the ferment daily. You will notice bubbles forming after a few days – this is completely normal and desired!
- After a week or so, give your lacto-fermented radishes a taste. When they have reached your desired flavor, move them to the refrigerator or another cool location such as a homestead root cellar and enjoy!
Notes
Troubleshooting Fermentation Problems
At some point in your fermentation journey, you will likely notice a moldy layer developing on the surface of your brine. If it is a white surface mold, then go ahead and scrape the mold off carefully with a spoon, and continue with the fermentation process. If at any time you notice colorful molds or a funky smell developing (not a radishy smell, but a putrid smell), then discontinue the ferment. I have written a few blog posts about tips and tricks for successful fermentation and how to store and care for vegetable ferments that should help you out!






Love it! This is very timely because I will soon have radishes coming out of the garden and we love ferments in our house. I will definitely be trying these out asap!
I hope you like them!!