This post may contain affiliate links. Please read my Privacy Policy & Disclosures for more information.
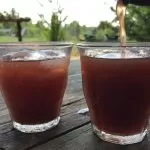
One of our most beloved Autumn traditions is pressing apples. We refrigerate some of the juice to drink in its sweet, raw, unpasteurized form. The rest we ferment into hard apple cider. Today my husband Brian joins me to share how to make hard cider in just a few easy steps.
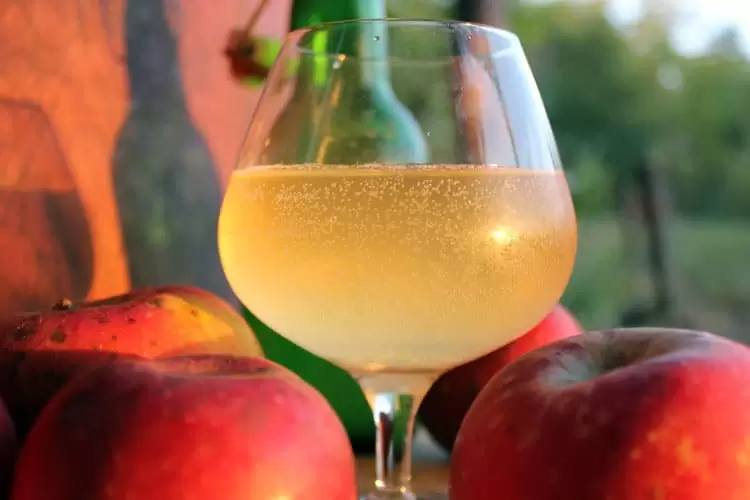
Hard apple cider is just sweet apple cider that has had its sugars naturally fermented into alcohol. It is one most local drinks you can make since you don’t need to buy any imported ingredients like sugar. And, you are hearkening back to our American pioneer roots, when John Chapman (aka Johnny Appleseed) walked the land, starting nurseries on the frontier, selling apple trees to the new settlers so that they could make hard cider and vinegar. (Most apple trees grown from seed like Johnny’s don’t make very tasty fruit; they were destined for the cider mill.)
I remember first learning about hard cider from a wonderful, story-filled British forester who recalled making and buying cider or “scrumpy” in his youth. Back then, in England, cider was far more common than beer, before the big multi-national beer corporations moved in. Here in the U.S., cider had almost disappeared commercially, though now craft hard cider is making a big comeback.
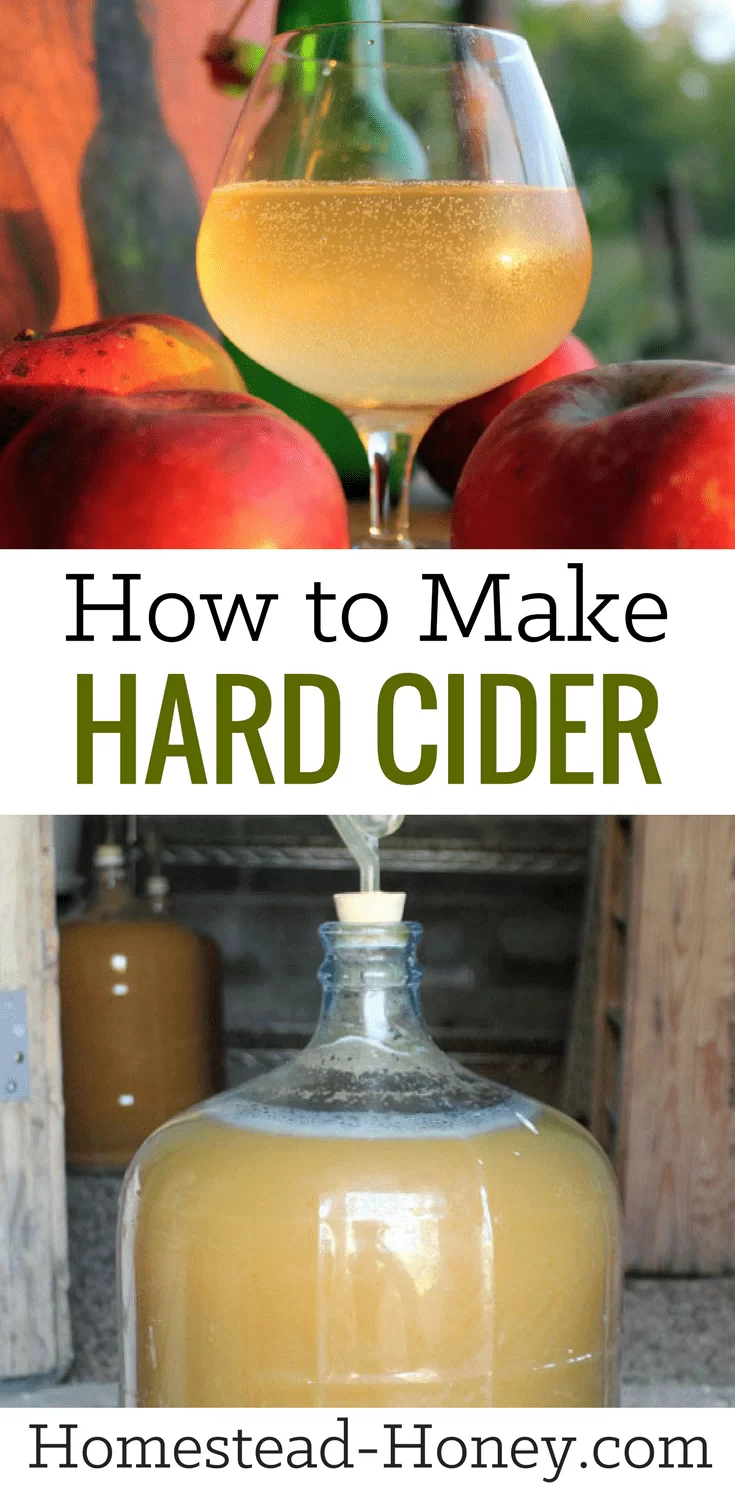
Delicious hard apple cider is easy to make at home, in just a few simple steps. Today we’ll walk through the fermentation process of making hard apple cider with wild yeasts. Next, read our article on how to rack and bottle your hard cider.
How to Make Hard Cider
Step One: Source Apples for Pressing
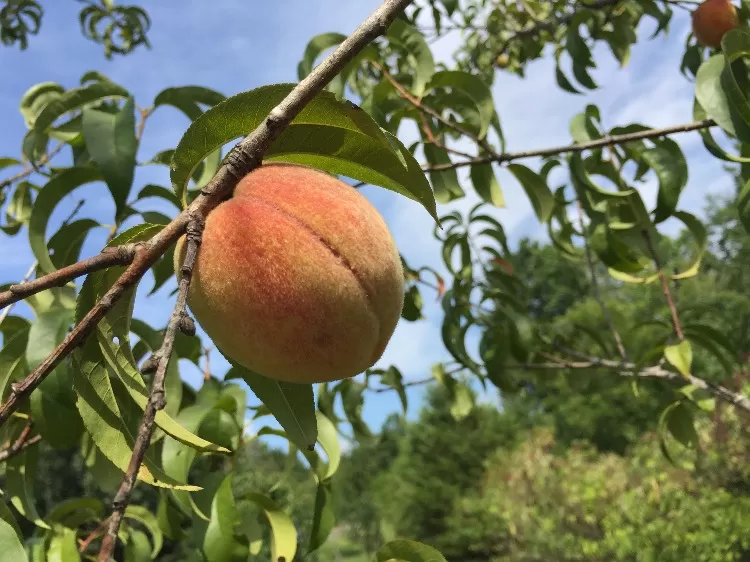
Finding apples to press into cider is usually pretty easy, with a bit of sleuthing around town. Look for trees dropping their fruit in someone’s lawn and ask politely if you can pick some of them. Most of the time, they will be happy to have you clean up the whole tree (and in their mind, the mess).
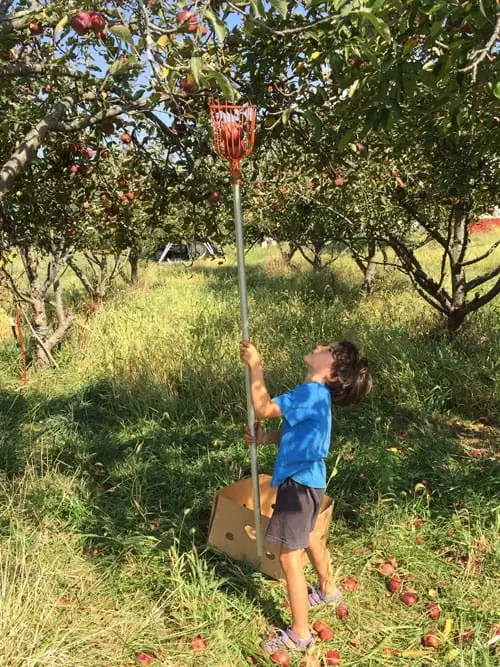
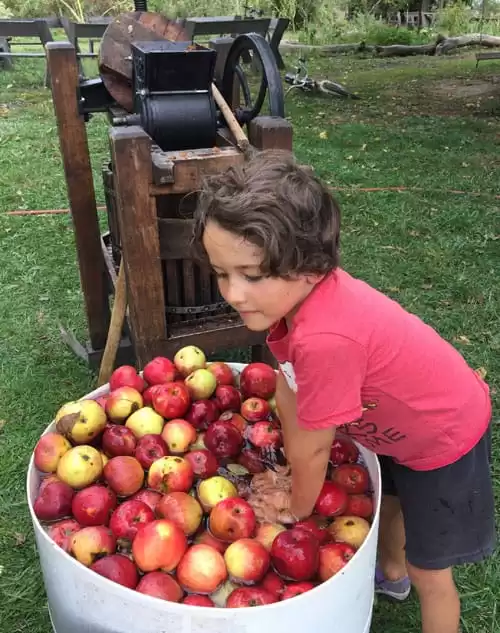
Alternatively, you can u-pick apples at a local orchard – ask if they allow you to pick up windfall apples from the ground for a reduced price, or for free. When picking ground apples, look for ones without rot or obvious bruising. We usually give our apples a rinse in water before pressing.
Any apple will produce a decent cider, but if you want to dive deeper into how to create a more nuanced balanced flavor, read our article about the best apples for hard cider.
Step Two: Press the Apples to Extract their Juice
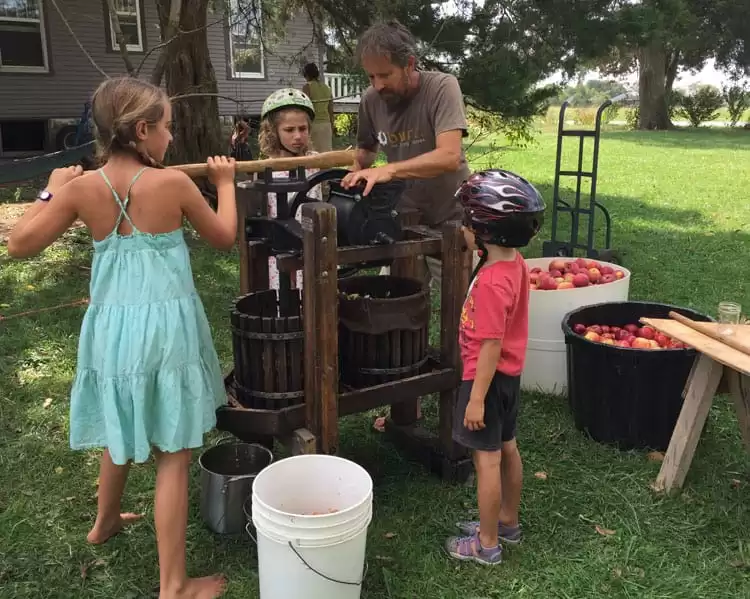
The hardest part of making cider is getting the juice out of those apples, and for that you need a cider press. To make it affordable, we co-bought this high quality cider press together with four other neighbors, since you really only need to use it a couple times each in the fall. I have a friend who rents his each year from a local rental place. And there are DIY plans for making your own press, if you have that inclination.
Here’s a quick video that shows the apples being ground to a pulp, pressed, and then us pouring the cider into a carboy (which you’ll learn about in Step Four).
Step Three: Gather your Brewing Supplies
The great thing about acquiring equipment for making hard cider is you can use it for years and years, and for other brewing projects.
What Equipment do I Need to Make Hard Apple Cider?
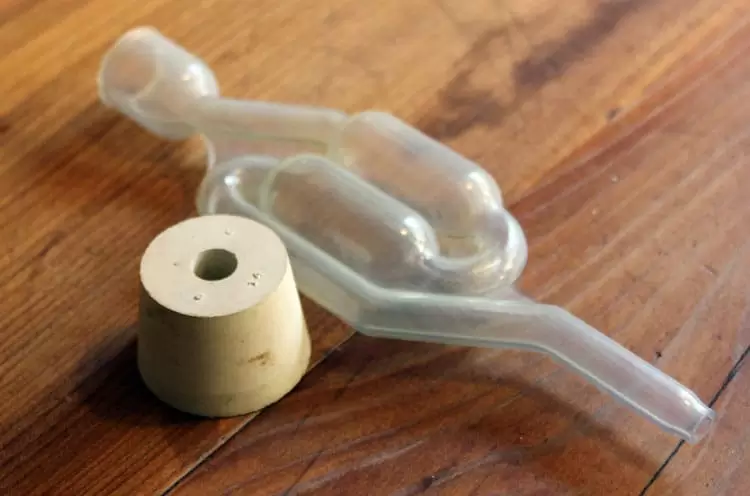
You’ll need a vessel to hold the cider and an air lock to seal it. An air lock is simply a device that allows gas to bubble out but won’t allow any air back in.
- One gallon jars can be used for small batches, but if you want to ferment larger quantities, you should buy a 3 or 5-gallon carboy from a home-brewing supply store.
- You will also need an airlock and the proper size stopper with a hole for the airlock.
Some books recommend sterilizing all equipment, but I don’t like using bleach or other chemicals, so a good cleaning with hot soapy water and rinse is all we tend to use.
Similarly, some resources suggest sterilizing your fresh cider with sulfites like Campden tablets then add commercially produced wine yeast, and acid balancers and yeast nutrients etc. to make your hard cider. You could do this, like commercial producers and vintners do in order to maintain consistent marketable results.
But we’re OK with yearly variations in our cider, and we love that we don’t have to purchase a single thing for this beverage, and that we are utilizing the wild yeasts and local terroir that will make this cider wholly unique. Remember, humans have been brewing cider and wine ever since we started picking wild fruit, without any high tech equipment.
Step Four: Ferment Your Hard Cider
Now that you have your beautifully sweet, raw, unprocessed cider, and the equipment you need to turn it into hard cider, it’s time to start fermenting!
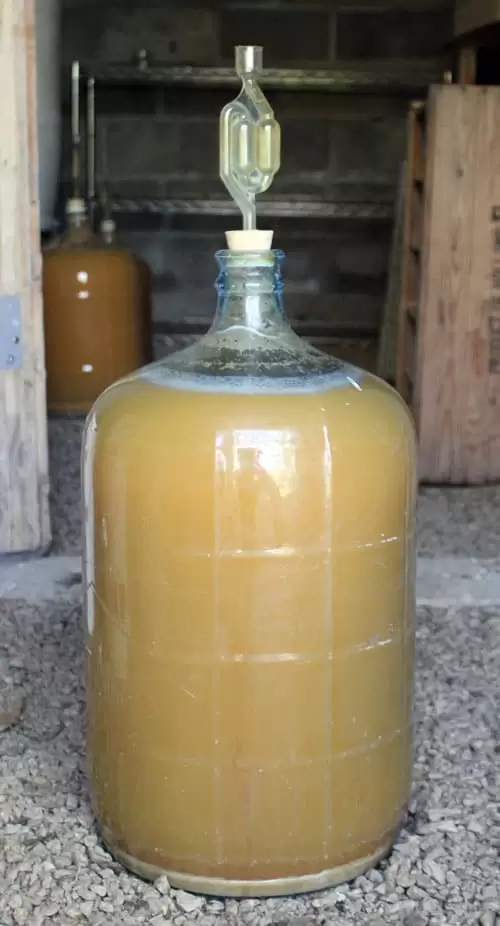
We pour the cider right from the press directly into the carboy though a strainer and funnel, as you can see in the video above. When almost full, we pop the airlock on and stow it out of the way in a cool spot in the house out of direct sunlight (we place it in our homestead root cellar).
Then … just do nothing. Organic or unsprayed apples, like grapes and other fruits, grow with naturally occurring yeast right on their skins, so your fresh cider will start fermenting almost immediately. (Which means those microscopic yeast cells will start “eating” the sugars in the juice and “excreting” alcohol and carbon dioxide gas).
Step Five: Watch and Wait (and Clean, if Necessary)
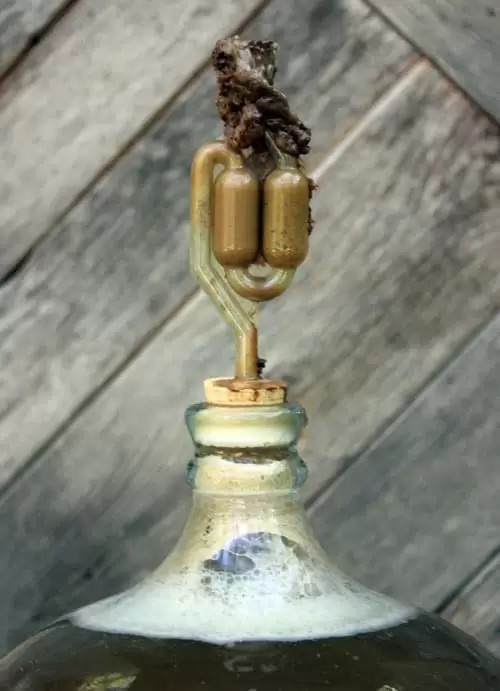
The initial fermenting process will create bubbles and foam caused by the release of carbon dioxide, which can come up through the airlock and sometimes clog it, (especially if you haven’t strained out larger apple chunks), so monitor this during the first few days, and clean the foam out of the airlocks.
Alternately, you could use a large diameter hose the size of your carboy jar opening (sometimes called a blow-off tube) fitted snugly into the opening with the far end curved down into another smaller jar of water, that allows the foam to bubble out safely without clogging for the first few days, and then you can install the air locks.
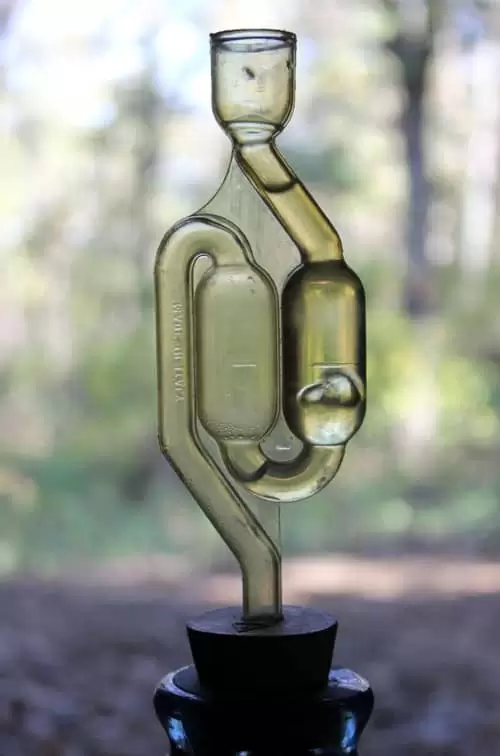
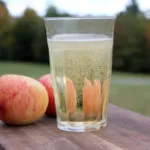
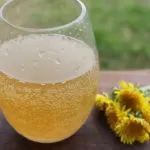
And that’s it! Hard cider is on the way. Now all you need to do is wait for the bubbling to slow and stop, signifying that most or all of the sugar left in the juice has been digested by the yeast, and converted into alcohol (and CO2). This could take several weeks or up to several months, depending on a variety of factors including temperature, initial sugar in the apples, yeast vigor, etc.
When you’re ready, read on to learn how to rack and bottle your hard cider >> How to Bottle Hard Cider
Troubleshooting Your Hard Cider
If you are new to fermenting beverages, a lot of questions can arise. This is totally normal! Here are a few common questions that arise when making hard cider, and how to troubleshoot:
Help! My cider is not fermenting!
It can take a few days for the fermentation action to really begin, and for you to start seeing those telltale bubbles. (Remember, bubbles are a sign that naturally occurring yeast is feeding on the sugar in the cider and turning it into alcohol, releasing CO2 in the process.)
First, check the temperature of the space in which you are storing your cider. Is it in a room temperature (roughly 72F) environment? Too cool temperatures can slow down the fermentation process.
If you’ve checked the temperature and waited a few days with still no action, try giving your carboy or bottle a gentle shake. This exact situation happened to us recently – after 5 days in a room temperature environment, there was no evidence of fermentation. After a gentle shake, bubbles galore!
Can I use apple cider or apple juice that I bought at a store?
This recipe uses a natural fermentation process, where the yeasts that naturally occur on the skin of apples are fermenting the juice into hard (alcoholic) cider.
If you are able to source raw (unheated) cider at a local orchard, then yes, you can use this juice. But most ciders or apple juices that you purchase from a grocery store will be pasteurized, a high heat process that will kill the yeasts we need for fermentation. If you are unsure, ask!
What kind of apples should I use?
Great question, and we wrote an entire article to answer this, which you can read here: The Best Apples for Hard Cider
The short answer, though, is that while you can use any one variety of apple and still make a decent cider, your flavor profile will be greatly enhanced by combining apples that are sweet, acidic and tannic.
In fact, cider is a fantastic use for homestead apples that are a bit too tart for fresh eating. You can even include some crabapples in your cider blend.
How to Make Hard Cider in 5 Easy Steps

Do you love the taste of craft hard cider? We'll show you how to make hard cider at home in five easy steps with no additional ingredients required!
Ingredients
- Organic apples
- 1 high quality cider press
- 1 vessel to hold the cider
- 1 airlock to seal it
- One gallon jars can be used for small batches, but if you want to ferment larger quantities, you should buy a 3 or 5-gallon carboy from a home-brewing supply store.
- You will also need an airlock and the proper size stopper with a hole for the airlock.
Instructions
- The hardest part of making cider is getting the juice out of those apples, and for that you need a cider press. To make it affordable, we co-bought this high quality cider press. My video shows the apples being ground to a pulp, the cider being pressed, and then us pouring the cider into a carboy.
- We pour the cider right from the press directly into the carboy though a strainer and funnel, as you can see in the video above. When almost full, we pop the airlock on and stow it out of the way in a cool spot in the house out of direct sunlight (we place it in our homestead root cellar).
- Then … just do nothing. Organic or unsprayed apples, like grapes and other fruits, grow with naturally occurring yeast right on their skins, so your fresh cider will start fermenting almost immediately. (Which means those microscopic yeast cells will start “eating” the sugars in the juice and “excreting” alcohol and carbon dioxide gas).
- The initial fermenting process will create bubbles and foam caused by the release of carbon dioxide, which can come up through the airlock and sometimes clog it, (especially if you haven’t strained out larger apple chunks), so monitor this during the first few days, and clean the foam out of the airlocks.
- Alternately, you could use a large diameter hose the size of your carboy jar opening (sometimes called a blow-off tube) fitted snugly into the opening with the far end curved down into another smaller jar of water, that allows the foam to bubble out safely without clogging for the first few days, and then you can install the air locks.
- And that’s it! Hard cider is on the way. Now all you need to do is wait for the bubbling to slow and stop, signifying that most or all of the sugar left in the juice has been digested by the yeast, and converted into alcohol (and CO2). This could take several weeks or up to several months, depending on a variety of factors including temperature, initial sugar in the apples, yeast vigor, etc.
Notes
Finding apples to press into cider is usually pretty easy, with a bit of sleuthing around town. Look for trees dropping their fruit in someone’s lawn and ask politely if you can pick some of them. Most of the time, they will be happy to have you clean up the whole tree (and in their mind, the mess).
Alternatively, you can u-pick apples at a local orchard
Recommended Products
As an Amazon Associate and member of other affiliate programs, I earn from qualifying purchases.
Pin it for Later:


Fantastic info. I like simple.
If I blend the apples in my high speed ‘blendtec’ whole; what about the apple seeds? Do I need to core the apples first?
There is an organic apple orchard here in Maine and I can also purchase pressed unpasteurized juice.
Thanks!
If you can purchase pressed juice, then making hard cider will be easy! If you blend the apples, I would just recommend filtering it before fermenting so you remove the seeds and skin.
Excited to try this recipe. Was hoping to give our apples a light rinse to remove dirt/debris before pressing. Will rinsing them in water remove too much of the natural yeast? Thanks a bunch!
Yes. that’s fine! We give apples a rinse before pressing as well.
This has been very educational, the past few years ive been trying all the local hard ciders on tap whereever it is i was at the time ( and ive been in many different states the past 5 years) ive grown very fond of them all and decided to look into hiw to make these especially since alot if times ill be living off the grid . I want to thank you for sharing this with me as itll help ne to have the one thing besides food that makes me smile. Again thank u so much and I’ll definitely be reading more of your stuff… LIFE SAVER!!!!
Glad you have found this information helpful! Enjoy your cider!
Hi, I crushed and pressed apples from my trees to fill a 3 gallon Carboy. It’s been three days and no bubbling yet. If I had to add store bought yeast, how much should I add and do you recommend any specific brand? Thank you!
Three days is not a worrisome amount of time. Depending on sugar content and temperature, ferments can be slow to kick off. But if you’d like to add yeast, we usually recommend a champagne yeast. I don’t have a particular brand.
Good Day…I am from the Middle East..Today I cane across your Blog via Pinterest where I have my pages from many years..I highly admire your activity and I just Subscribed to your Newsletter…I am searching for Easy Recipe to make Apple Vinegar At home so as to use it for Salads and Marinating meats and to preserve olives and Lemon..The vinegar should be Acid and not Alcohol sweet…is there any recipe for that??many thanks
I’m sorry to say I don’t have a recipe on my site, but perhaps check out Attainable Sustainable?
Such a great resource! Thank you. I especially appreciate your encouragement of using wild yeast rather than store bought specialty yeast. My question: I have my cider in carboys and placed the peels & cores in another jar with water to make apple scrap vinegar. It strikes me…what is the difference? How will my cider turn into yummy hard cider instead of apple cider vinegar? Thanks!
I’m glad you’re excited about using the wild yeasts! If your fermentation goes too far, you can get vinegar instead. We had this happen this spring with a milkweed flower mead. We made it to the “soda” stage (lightly bubbly, not too much alcohol content). It was bubbling away and we were distracted by too many other projects, and when we got around to tasting it, it was definitively vinegar. We use it anyways, adding it to fizzy water as a “shrub” (or drinking vinegar).
Can you freeze all the crab apples then ferment them into hard cider
Dennis, if you freeze them first, you will need to add some yeast to the cider when it’s time to ferment. It’s doable – just make sure to find some champagne yeast!
I too am wondering about juicing versus pressing. My juicer separates the pulp and skin from the juice. No heat or steam. Do I need to add the filtered product back into the juice for it to work?
Hi Joelle,
That is a good question. If your juice mingles with the skins for a while, then my guess is that the natural yeasts that are on the skins of the apples will get into the juice. But if you find that your cider does not start bubbling within a few days at a nice room temperature, then you may need to add a touch of wine/champagne yeast to kickstart fermentation.
I picked unsprayed apples from a friend’s house and juiced through a juicer. I used an airlock on my carboy and no bubbles after 3 days in my basement. Should I add yeast? We don’t really have a warmer location, but I’m thinking it may be too cold also.
If it’s a cool basement location, you may need a few more days. Could you just bring it into the main house? Room temperature temps of your house will kickstart the process and then you can bring it back to the basement for a slow ferment.
Hello, thank you for this!! We just moved to our farm and are blessed with A BUNCH of apple trees. We do not have a press but we do have a juicer. Would that work? And really no sugar added!!?? I like the sounds of that!
Hi Jamie, I’m not sure how your juicer works. If it is just a shredder, extractor kind, then it should work. If you have to remove the skins first, you may find that you need to add some champagne/wine yeast to kick start the fermentation. However, if your juicer is a steamer juicer, then you will definitely need to go the store-bought yeast route!
Good luck and enjoy!
Hi, can I use apples bought from a shop that have been washed, or do I need fresh off the tree apples
Store bought apples would be fine if you add some yeast to kickstart the fermentation process. The fruit that you harvest fresh from the tree tends to have enough yeasts on its skin to encourage the fermentation process, but not necessarily washed, store bought.
Thank you so much….your explanations and photos/videos have been so helpful! We’re done the pressing, siphoned it into a carboy and put the airlock on. That was yesterday (18 hours ago!) and now we’re waiting for the bubbling and fermenting to start. How long after the processing do you usually see the fermenting begin? And we have to start wandering around the house, trying to figure out the best spot for the carboy to sit quietly in the dark and do its thing.
It may take a few days, depending on how warm it is in your location. I’m glad the photos and such were helpful!!
Is it possible to make the hard cider with apple cider made and packaged at the orchard?
If they are pressing and selling raw (unheated) apple cider, then it will work just as well. But if they are pasteurizing or canning the apple cider, then the natural yeasts on the apples will be killed. In that case, you could try adding some store-bought wine yeast to kick start the fermentation process.
Today I will try your Hard apple cider though. Thank you for a great 2017 with all your amazing recipes!!Your recipes made me famous in my family and church community.