I have a bit of a tree crush on Black Walnut (Juglans nigra). I mean, how many other trees provide you with shade, gorgeous timber, sap from which to make black walnut syrup, delicious nuts, a unique liqueur, and husks from which to make natural dye and black walnut ink?
Making your own ink out of black walnut husks is the perfect activity to do with preschool and kindergarten age kids. Making black walnut ink weaves in nature studies, tree identification, measuring and pouring, and writing into one fun “lesson!”
A warning: Black walnut ink can stain, so take care not to spill your ink and place newspaper on all surfaces before beginning this project.
How to Make Black Walnut Ink
Ingredients
Black walnut husks
A large, non-reactive pot
Water
White Vinegar
Wire mesh strainer
Cheesecloth
Storage container with lid
Optional: vodka to use as a preservative
Optional: Rooster feather (to make a quill)
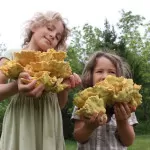
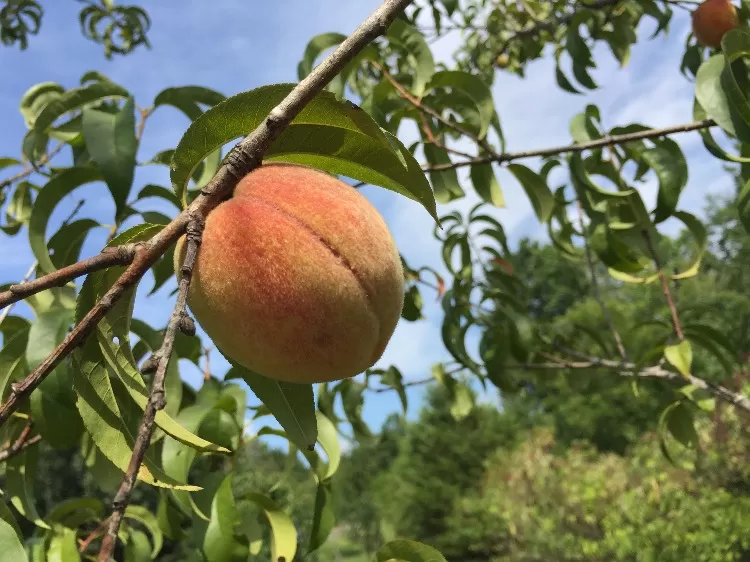
1) Collect Black Walnuts – A perfect time to identify black walnut trees is in the spring. At this point, the large bright green immature nuts are easy to spot hanging on the tree. Make a mental note of their location, or flag the tree for future collection. (If you want to make some nocino (black walnut liqueur), the time to harvest is when those nuts are large and immature!)
In the Autumn, black walnuts fall to the ground when they are ripe and ready to harvest. Because we will only using the husks, you can save the nut meat to eat!
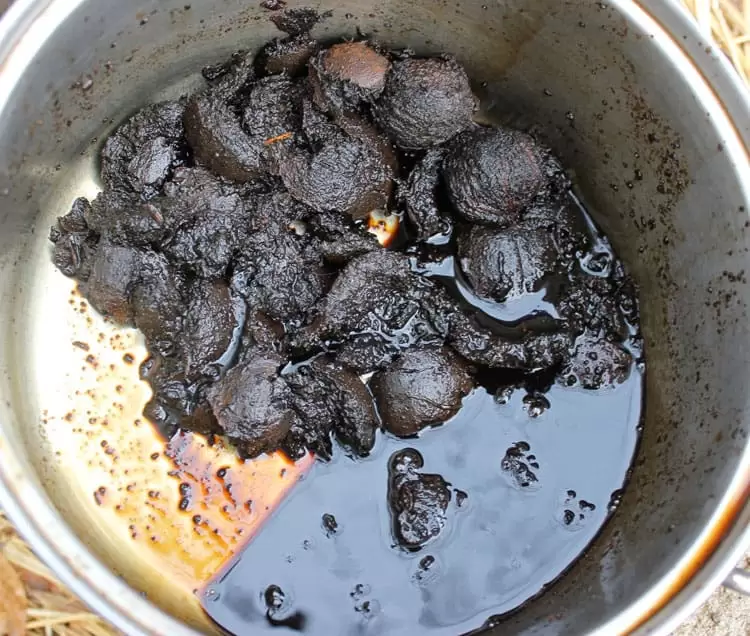
2) Crush the husks – Either crush the husks or wait until the black walnuts have the opportunity to rot a bit on the ground.
3) Place the husks in a large, non-reactive pot, and cover them with water and 1 cup of white vinegar.
4) Bring the contents of the pot to a boil, and then turn down the heat and simmer for 30 minutes – 1 hour.
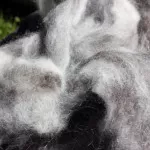
5) Allow the mixture to cool, and then strain twice – first through a wire mesh strainer, and then through cheesecloth to remove all solid particles.
6) Store your black walnut ink in a container with a tight-fitting lid. If desired, you can extend the life of the ink by adding a few tablespoons of cheap vodka to your ink.
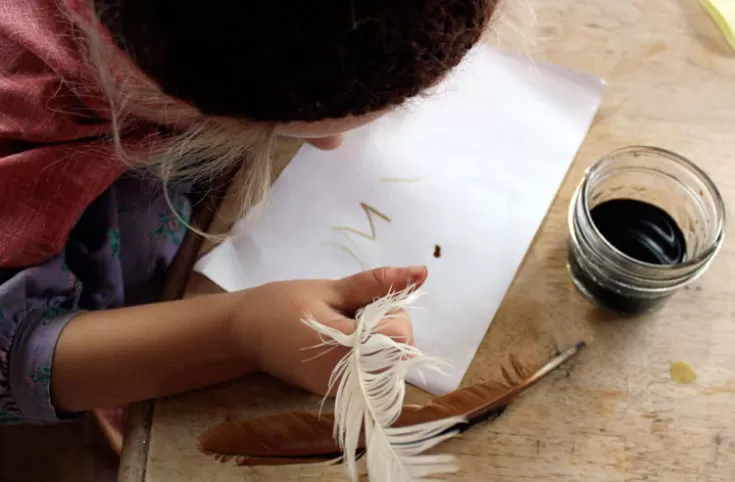
7) To make your own quill, cut the tip of a rooster feather at a sharp angle to create a point.
And now you’re ready to write! Simply dip into the black walnut ink, wipe off any excess, and experiment on paper!

For more projects, crafts, recipes, and DIYs to share with your kids, check out my book, Family Homesteading.
How to Make Black Walnut Ink
Learn how to make your own ink using walnut husks. This is a perfect easy DIY project to do with a kindergarten age child.
Materials
- black walnut husks
- water
- white vinegar
- Optional: vodka
- Optional: rooster feather
Tools
- Large, non-reactive pot
- Wire mesh strainer
- cheesecloth
- small storage jar with lid
Instructions
1) Collect Black Walnuts - A perfect time to identify black walnut trees is in the spring. At this point, the large bright green immature nuts are easy to spot hanging on the tree. Make a mental note of their location, or flag the tree for future collection. (If you want to make some nocino (black walnut liqueur), the time to harvest is when those nuts are large and immature!)
In the Autumn, black walnuts fall to the ground when they are ripe and ready to harvest. Because we will only using the husks, you can save the nut meat to eat!
2) Crush the husks - Either crush the husks or wait until the black walnuts have the opportunity to rot a bit on the ground.
3) Place the husks in a large, non-reactive pot, and cover them with water and 1 cup of white vinegar.
4) Bring the contents of the pot to a boil, and then turn down the heat and simmer for 30 minutes - 1 hour.
5) Allow the mixture to cool, and then strain twice - first through a wire mesh strainer, and then through cheesecloth to remove all solid particles.
6) Store your black walnut ink in a container with a tight-fitting lid. If desired, you can extend the life of the ink by adding a few tablespoons of cheap vodka to your ink.
7) To make your own quill, cut the tip of a rooster feather at a sharp angle to create a point.
And now you're ready to write! Simply dip into the black walnut ink, wipe off any excess, and experiment on paper!
Notes
Be mindful of the fact that Black Walnut stains, so take care not to spill, or put some newspapers below
Pin this project for later:


Will this process stain my pot?
It could, depending on the pot. We used a Goodwill quality pot that we also have used for dyeing.
How many walnuts do you need, about? Thank you!
You can make any amount of ink with any amount of walnuts. Just make sure that the walnuts are covered with liquid.
I love this! So glad you shared it. I didn’t even know you could make ink like this. Pinning for later!
It is so easy and fun!
Love it! I definitely want to try this with Athena some day!
😉
She will love it! Just be sure to put an apron on her!