Root Cellaring and Seasonal Eating
Root Cellaring Basics
Eating Local in Winter
Recipe: Root Vegetable Hash
Recipe: Creamy Butternut Squash Soup
Recipe: Braised Turnips and Apples with Bacon
Root Cellaring Basics
While root cellaring may conjure up images of pioneer days it remains a fantastic way to keep vegetables and fruit fresh and edible throughout the winter. Root cellaring enables you to store food for a long period of time and with little effort. To maximize your success, however, follow these five steps:
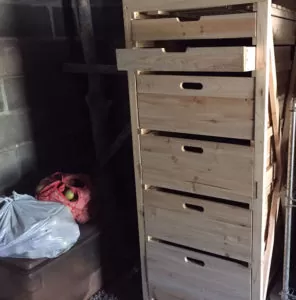
1) Choose your Location
Traditionally, root cellars were built into the ground, often into the side of a hill. But root cellaring can be done successfully in many locations, including:
- Your basement
- An underground storm shelter
- A buried bucket or metal trash can (make sure if you try this method, you do it in an area with great drainage!)
- And, as a last resort, the coolest, most humid place in your home
Our neighbors successfully keep hundreds of pounds of food in their basement, including large heads of Chinese cabbage, carrots, turnips, leeks, and beets. We have also stored apples in our neighbor’s storm shelter before building our own root cellar.

2) Create the Right Environment
Root cellars are designed to provide cool, moist environments in which vegetables and other foods can be stored without electricity. Specific conditions are required, such as:
Humidity
A very high (90-95%) humidity environment will provide the best storage environment for most leafy vegetables and root crops. We recently purchased a small digital thermometer that also gives a humidity reading so we can track humidity, and if needed, add a dish of water nearby.
Ventilation
Good ventilation is important in your root cellar, as it helps prevent mold growth and moves ethylene gas out of the cellar. Wherever you choose to cellar, be sure that you provide ventilation, BUT cover any openings with mesh to prevent rodents entering!
Temperature
The ideal root cellaring temperature is between 32 and 40 degrees Fahrenheit, although you can keep foods for shorter periods at lower temperatures. Prior to building an underground root cellar, My family stored food in the mudroom of our house. This was the furthest spot from our woodstove and the temperature hovered around 52 degrees. We found that were able to keep beets, carrots, and turnips for about a month at that temperature.
3) Choose Foods that Store Well
Different foods like to be stored at different temperature and humidity. The foods that are best suited for root cellaring are root vegetables and other foods that prefer cool temperatures and very high humidity. Some foods that root cellar well include:
- Cabbage
- Chinese cabbage
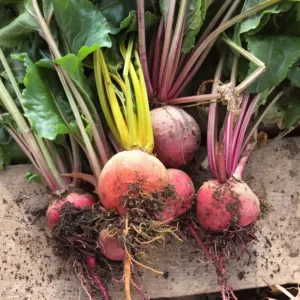
- Beets
- Parsnips
- Carrots
- Potatoes
- Brussel Sprouts
- Cauliflower
- Turnips
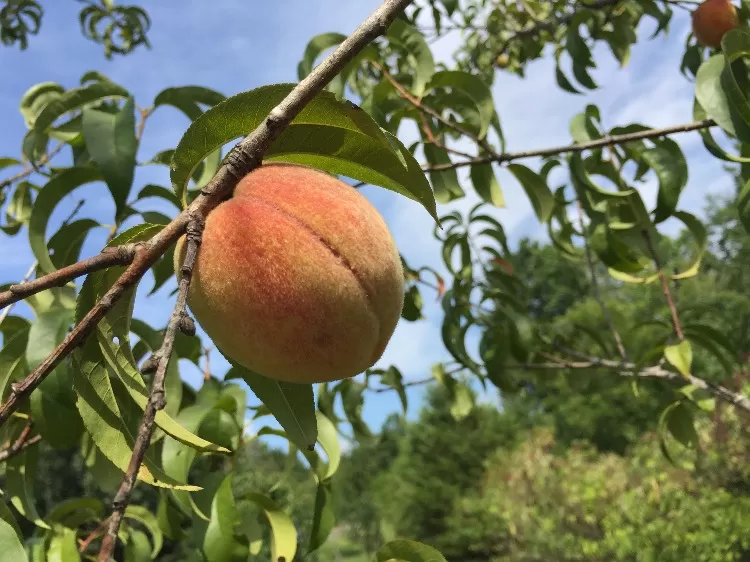
- Apples
- Pears
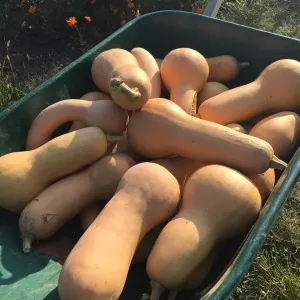
Sweet potatoes and winter squash are great storage crops that last for months; however, these should not be stored in a root cellar, but rather in a dry and cool location.
4) Stock up!
Consider hitting the farmer’s market to stock up on vegetables and fruit for your root cellar. Many farmers will be willing to give you a bulk discount, especially if you travel to the farm to pick up! Fruits and vegetables that are not “attractive” enough for market, but are otherwise unscathed are perfect candidates for bulk discounts.
You might also consider visiting a nearby orchard and picking apples or pears for root cellaring. In our area, Arkansas Black apples are grown as a superior keeper. Ask your orchardist what he or she would recommend as good storage fruit.
If you grow a garden, plan ahead for your fall garden and grow extra vegetables for root cellaring. Many seed companies will designate good storage crops so you can select a few varieties especially for keeping.
5) Prepare to Store
Successfully keeping food in a root cellar requires a bit of extra care to ensure that the food will remain fresh for months. Here are some guidelines for preparing to store food in a root cellar:
- Handle food very gently to avoid bruising
- Pick at the peak of freshness
- Store only the best fruit and vegetables; if you see any signs of rot or bruising, eat them fresh or can them instead
- Harvest as late in the season as possible, but before the first hard frost
Save yourself work by NOT washing the fruits and vegetables that you plan to cellar. Instead, simply brush off extra dirt and store the produce in crates or baskets. Carrots, beets and other root vegetables may benefit from being stored in buckets with layers of sawdust or straw sandwiching layers of vegetables.
Eating Local in Winter
If you live in a four-season climate, it can be challenging to grow and source fresh produce all year long. The homesteader’s garden is put to bed, and while it is possible to grow food under hoop houses or in cold frames, there is not the same abundance and diversity of fresh-out-of-the-garden fruits and vegetables that we enjoy all Summer and Autumn.
If you plan ahead, it’s possible to stock up on a number of storage crops to enjoy all winter long. I like to work with local farmers to buy in bulk, and will often receive discounts on storage crops such as winter squash, potatoes, sweet potatoes, cabbage, and root vegetables such as turnips, carrots, and beets to supplement what I have grown in my garden.
Eating a truly local diet in the winter months requires a shift in thinking and meal planning. Root vegetables are tasty on their own, but even more so roasted in an oven, or added to a soup or stew. Cabbage takes the place of lettuce to make a delicious winter salad. Sweet potatoes and squash are incredibly versatile and can be baked, boiled, added to stews, or as the foundation for baked goods.
We often find that the food we put up in the summer is even more appreciated in the winter. Just think of the joy of spooning blackberry jam on a warm bowl of oatmeal when it’s snowing outside, or cracking open a jar of peaches to enjoy on a cold rainy afternoon.
Our ancestors relied on food preservation to make it through the winter months without starving. Today, we have a global food network that makes it possible to eat lettuce, apples, oranges, and bananas in February. But here’s a challenge: What percentage of your winter diet do you think is possible to source locally? Be ambitious, yet also realistic and gentle with yourself, so that eating locally in winter becomes a celebration of yet another season of the year.
Recipe: Root Vegetable Hash
Ingredients:
- Olive oil, lard, or butter
- Salt and spices, to flavor
- 1 medium sized onion
- A selection of 3-5 different root veggies, such as:
- Carrots
- Beets
- Potatoes
- Parsnips
- Sweet Potatoes
- Celery Root
- Turnips
To Make:
- Chop onion and vegetables into 1/2″ cubes
- Toss with olive oil, salt, and rosemary (or whichever spice combo you prefer).
- If using butter or lard, melt the fat first before tossing with veggies.
- Spread out in a single layer on a cookie sheet or jelly roll pan.
- Bake at 425 degrees F for 30-40 minutes, until golden brown.
- Stir them around once or twice as they are cooking.
Enjoy with over easy eggs and sautéed greens for a meal that works great any time of the day!
Recipe: Creamy Butternut Squash Soup
Ingredients:
- 1 Butternut squash, peeled and diced
- 1 Onion, diced
- 2-3 cloves garlic, minced
- Spices to flavor: turmeric, cumin, cardamom, black pepper, cinnamon, or nutmeg
- Salt
- 1 Cup cream or milk
To Make:
- Peel and dice the butternut squash, and boil it in water until tender.
- Meanwhile, sauté the onion and garlic until translucent. Add to the squash.
- Use an immersion blender or a food processor to carefully puree the squash/onion mix.
- Add 1-2 tablespoons total of your spices of choice – for a more savory soup, go with the cumin, turmeric, black pepper, and for a sweeter soup, try the cinnamon, nutmeg and cardamom.
- Add salt to taste, and the cream or milk, and gently reheat until flavors have combined.
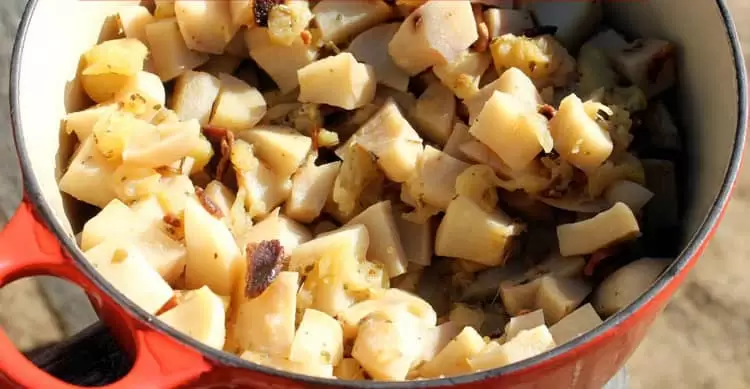
Recipe: Braised Turnips and Apples
Ingredients:
- 4-5 slices bacon
- 10 small turnips, peeled and cut into 1″ cubes
- 5 small apples, peeled and cut into 1″ cubes
- 2 tbsp butter
- 1/4 cup apple cider vinegar
- 1 1/2 cup water
- 1/8 cup sorghum (you may substitute maple syrup, molasses, or honey)
- 1 tsp sage
- 1/4 tsp salt
- pepper to taste
To Make:
- Cook bacon over medium heat until brown and crisp. Set bacon to side to cool, and then crumble into small pieces.
- In a heavy saucepan, melt butter and lightly stir turnips until coated.
- Add cider vinegar, water, and sorghum, stir to combine, and then cover and bring to a boil.
- Lower heat to simmer turnips for 8-10 minutes, or until they are soft enough that you can insert a knife.
- Add apples, sage, and salt and stir to combine.
- Let dish simmer for another 5 minutes, until the apples are soft.
- Stir in bacon crumbles and adjust seasonings as necessary. Serve warm.
Makes 6-8 servings