Dehydrating Food for Storage
Why Dehydrate?
Dehydrating Basics
Recipe: Dried Herbs Potato Salad
Recipe: Dehydrated Kale Chips
Recipe: Dried Herb Ranch Dip
Why Dehydrate?
Dehydrating food is the process of removing the moisture from foods such as herbs, fruit, and veggies. This creates a shelf stable product that can be enjoyed year-round. Dehydrated foods are:
- Inexpensive– Your home-dried fruits and veggies cost MUCH less than store bought
- Lightweight– Dehydrated food is great for camping or traveling
- Compact– They don’t take up much space – you can store large quantities of dried fruit in just a few mason jars!
- Great for emergency situations– Since dehydrated foods are shelf-stable, they are great to have on hand for power outages or emergency trips
- Great for camping/packed lunches– lightweight and easily packable
- TASTY!-Dehydrated foods concentrate flavor. Vegetables can be rehydrated and added to soup stock for a flavor punch, while dehydrated fruit is tasty on its own, or rehydrated as a fruit compote
Have you ever found yourself standing in the grocery store, checking out an amazing deal on bananas? They are in great condition and available at a super low price. How could you preserve these for the future? I like to turn these fresh bananas into a super-sweet healthy snack by dehydrating.
Dehydrating is a great way to preserve fruits and vegetables because the method removes water to create a shelf-stable product while leaving many vitamins and minerals intact.
A few of our favorite dehydrated foods include:
- Kale Chips (recipe in this module)
- Prunes, Apples, and other dried fruit
- Herbs for winter use and for tea
- Sun-dried tomatoes (instruction in the resource guide)
Dehydrating Basics
Before you Start
- Harvest or select food at its peak freshness for the best end results
- Cut food into uniform size pieces
- Get creative! Cut food into different shapes such as strips, rounds, or rings. Or, consider making fruit leather, which starts with a puree.
Tips for Dehydrating
- Cut food into uniform size pieces.
- Hang herbs in a dry and breezy place to maintain their effectiveness.
- Some herb compounds are photosenstive, so keep away from direct sunlight.
- Rub a bit of oil on screens to prevent drying food from sticking.
- Consider a topping: lemon juice on apple slices prevents browning; salt on sliced zucchini creates a simple snack.
- Remember to keep dehydrated foods in an airtight container.
Methods of Dehydrating
A few tried and true methods of dehydrating include:
- Hanging
- Sun drying
- Oven-drying
- Electric dehydrator
Hanging
Great for hot peppers, herbs, or mushrooms, hanging food to dry is perhaps the simplest method, as it involves no electric input or special tools.
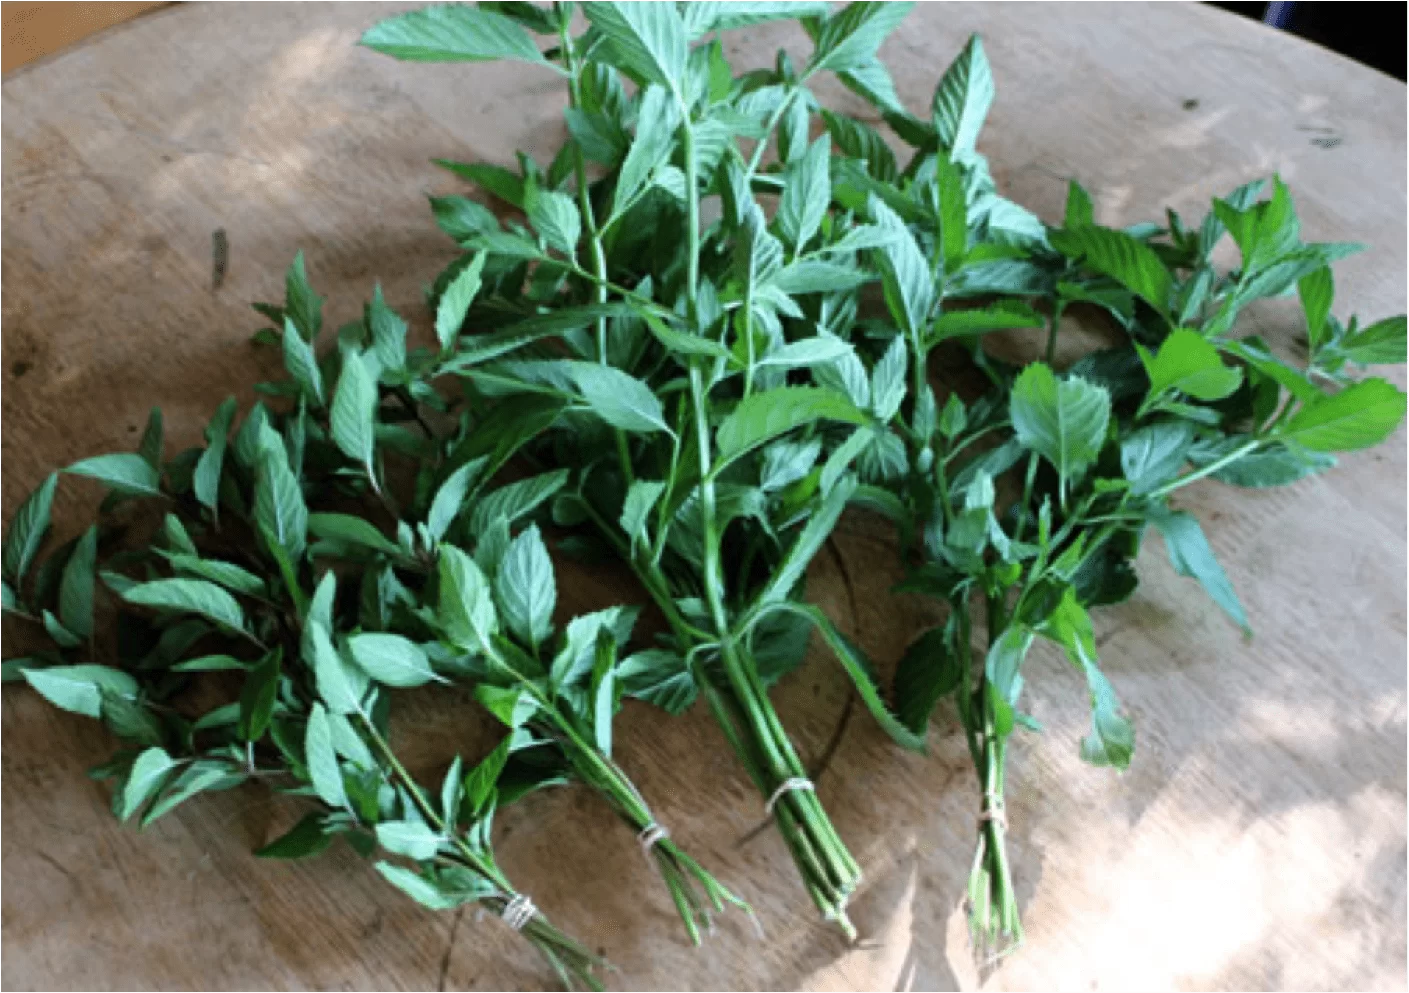
Here, I’ve prepared peppermint for drying by wrapping a small rubber band around 5 or 6 stalks of mint.
I hang the peppermint in a breezy location, away from dust or dirt, and let it dry naturally.
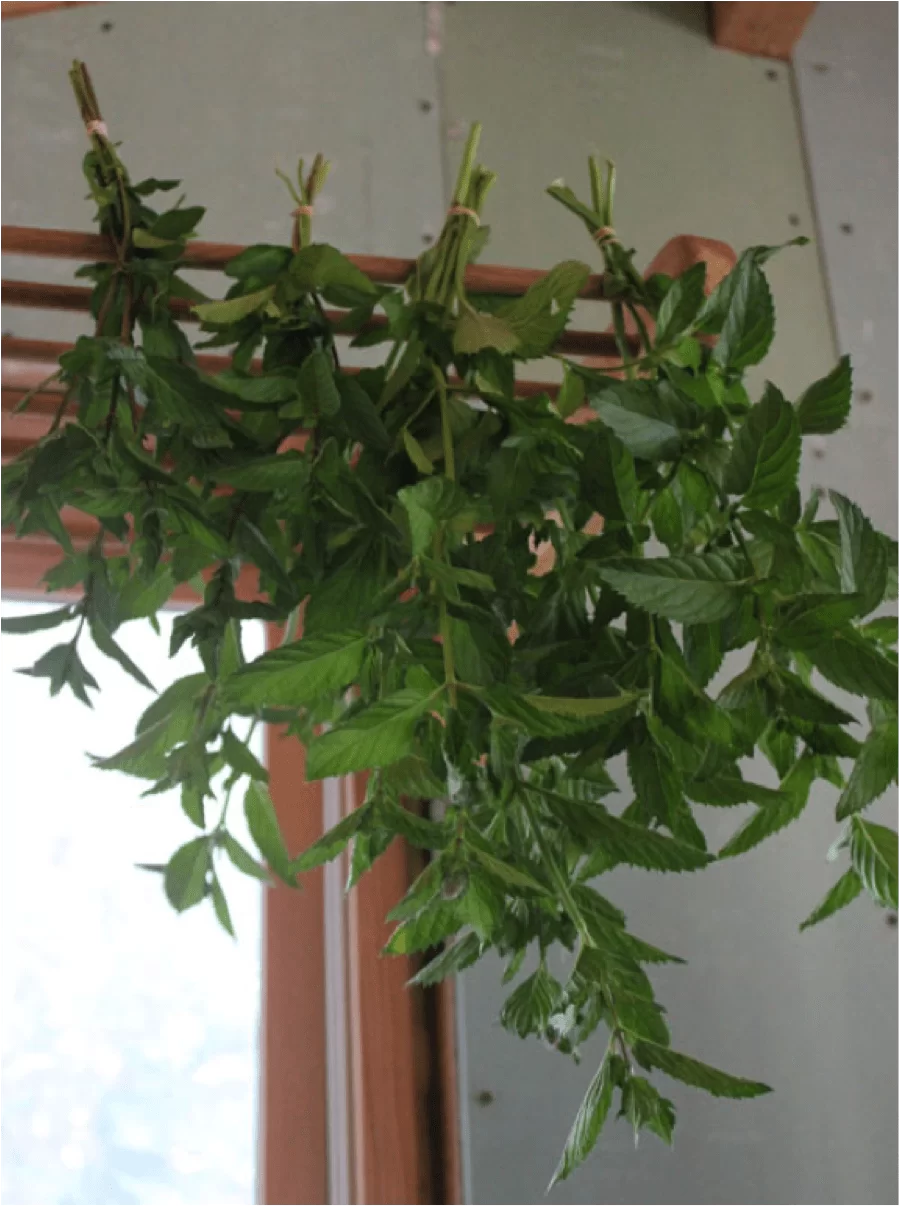
Preferably, I would hang the mint in a darker corner of my home, as many herbs lose their potency when exposed to sunlight.
Sun Drying
If you live in a very arid climate, such as the Arizona desert, or inland California, you can experiment with sun drying. Simply lay prepared food on a screen with good airflow underneath, and let dry in the sun.
Note: In humid climates, the food tends to mold before it dries completely in the sun, although some people have success sun drying in their car!
Oven Drying
You can use a home oven for dehydration. I like to use my Sun Oven exactly as I would use a home oven, except the sun does the heating for me! Here you can see the sliced zucchini prepped for dehydrating:

At home, turn your oven to its lowest heat setting (130–140 degrees is ideal). If you’re using a solar oven, you will keep the glass door slightly propped open to allow condensation to escape.
Electric Dehydrator
This is the most widely used method of home dehydrating. The Excalibur brand of dehydrator is extremely popular among homesteaders, and I’ve also had good success with the much less pricey Nesco home dehydrator.
Electric dehydrators are pretty fail-proof, as long as you follow your particular machine’s instructions. Most dehydrators have a temperature guide, which tells you what setting to use for certain kinds of food.
Sun-dried tomatoes in an electric dehydrator: Thickly slice tomatoes (if using cherry tomatoes, simply cut in half). Place on dehydrator racks (it helps to rub a little oil on to prevent sticking). Dehydrate at 135 degrees for about 24 hours.
Storing Dried Foods
You’ll know your foods are adequately dried when they are leathery and pliable, but with no remaining moisture pockets.
I like to package my dried foods in glass jars, and keep them on the pantry shelf. About one week after packaging, I inspect the dried food for condensation – a sign that perhaps the moisture content is a still a bit too high. If necessary, I’ll pop them back in the dehydrator.
Your dehydrated vegetables should last up to 6 months in storage, dried fruits last up to one year. Enjoy!
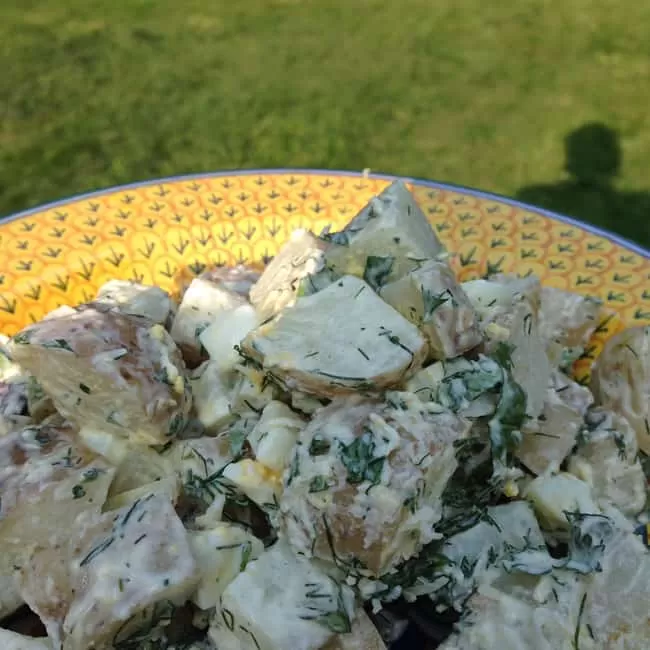
Recipe: Dried Herbs Potato Salad
Ingredients:
- 2 lb potatoes
- 2 hard boiled eggs
- 2 tsp dried basil
- 1 Tbs dried parsley
- 2 tsp dried dill
- ¼ c kalamata olives
- ½ c grated parmesan cheese
- ½ c sour cream
- ½ c mayonnaise or veganaise
- ¼ c yogurt
- 3 Tbs Dijon mustard
- 1 Tbs Herbamare or salt & seasoning of choice
To Make:
- Chop and boil potatoes until firm, but cooked through. Drain and let sit to cool.
- Meanwhile, chop eggs, basil, parsley, and olives.
- Whisk sour cream, mayonnaise, yogurt, mustard, and seasoning.
- Combine all ingredients in bowl and toss to coat evenly.
- Refrigerate for a few hours to let flavors combine.
Recipe: Dehydrated Kale Chips
Ingredients:
- 1/8 cup olive oil (or any oil that is locally available)
- 1 Tbs miso paste
- 1 tsp ginger powder (or 1 Tbs grated fresh ginger)
- 1 tsp garlic powder (or 1 clove of garlic, crushed)
- 1 Tbs tamari (or other soy sauce)
- 1 tsp honey
- 1/8 cup sesame seeds
- 1 bunch of kale (I prefer curly leaf for this recipe)
To Make:
- Whisk oil, miso, ginger, garlic, tamari, and honey in a large bowl.
- Rip kale into small pieces and add to bowl, tossing gently (clean hands work well for this).
- Sprinkle on sesame seeds.
- Lay kale out in dehydrator, spacing the pieces out as best as possible.
- Dehydrate at 115 for 12-14 hours.
- Store in a canning jar or other airtight container.
Recipe: Dried Herb Ranch Dip
Ingredients:
- 1 cup buttermilk
- ¼ cup sour cream
- 1 clove garlic garlic, pressed
- ½ tsp salt
- pepper
- 1 tsp dried dill
- 1 Tbs dried chives
- 1 Tbs dried parsley
To Make:
- Whisk all ingredients together in a bowl and pour into a container with a lid.
- Let sit in the fridge for an hour or two to meld flavors and serve.
- Goes great with carrot sticks and cucumber slices