Introduction to Food Preservation and Canning
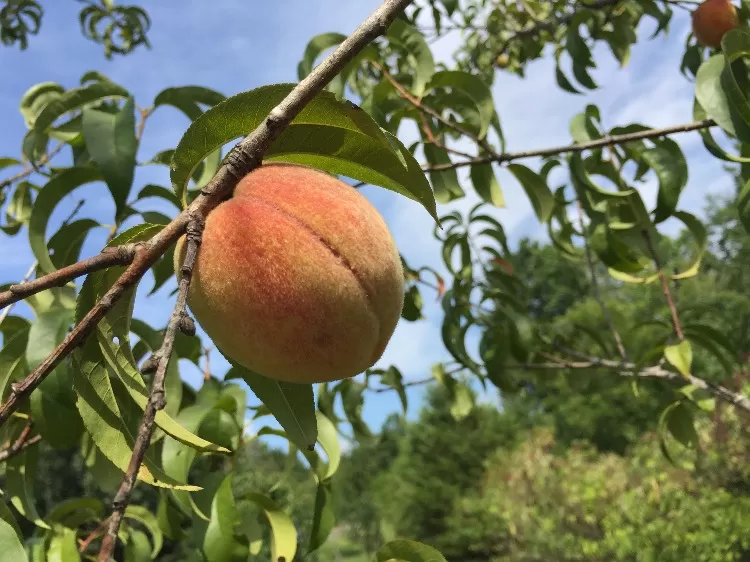
One of the joys and challenges of creating a homestead kitchen is that your meals are connected to the seasonal availability of food. For those of us living in a four-season climate, the surplus of summer is sharply contrasted with the “hunger months” of winter and early spring.
Fortunately, diverse methods of food preservation make it possible to take advantage of the bounty of summer and turn the harvest into food stores for the winter months.
Introduction to Food Preservation
Canning 101
Tutorial: Small Batch Canning & Canning a Simple Tomato Sauce
Introduction to Food Preservation
Consider this excerpt from a publication entitled, Historical Origins of Food Preservation:
“The astonishing fact about food preservation is that it permeated every culture at nearly every moment in time. To survive ancient man had to harness nature. In frozen climates he froze seal meat on the ice. In tropical climates he dried foods in the sun.
Food by its nature begins to spoil the moment it is harvested. Food preservation enabled ancient man to make roots and live in one place and form a community. He no longer had to consume the kill or harvest immediately, but could preserve some for later use. Each culture preserved their local food sources using the same basic methods of food preservation.”
(SOURCE: http://nchfp.uga.edu/publications/nchfp/factsheets/food_pres_hist.html)
Today, the most common methods of home food preservation are:
- Canning
- Freezing
- Drying/Dehydrating
Many other methods exist such as Root Cellaring, Fermenting, Curing, Smoking, Pickling and Dry Salting. And let’s not forget one method that we use every day – Refrigeration – which preserves food on a short-term basis.
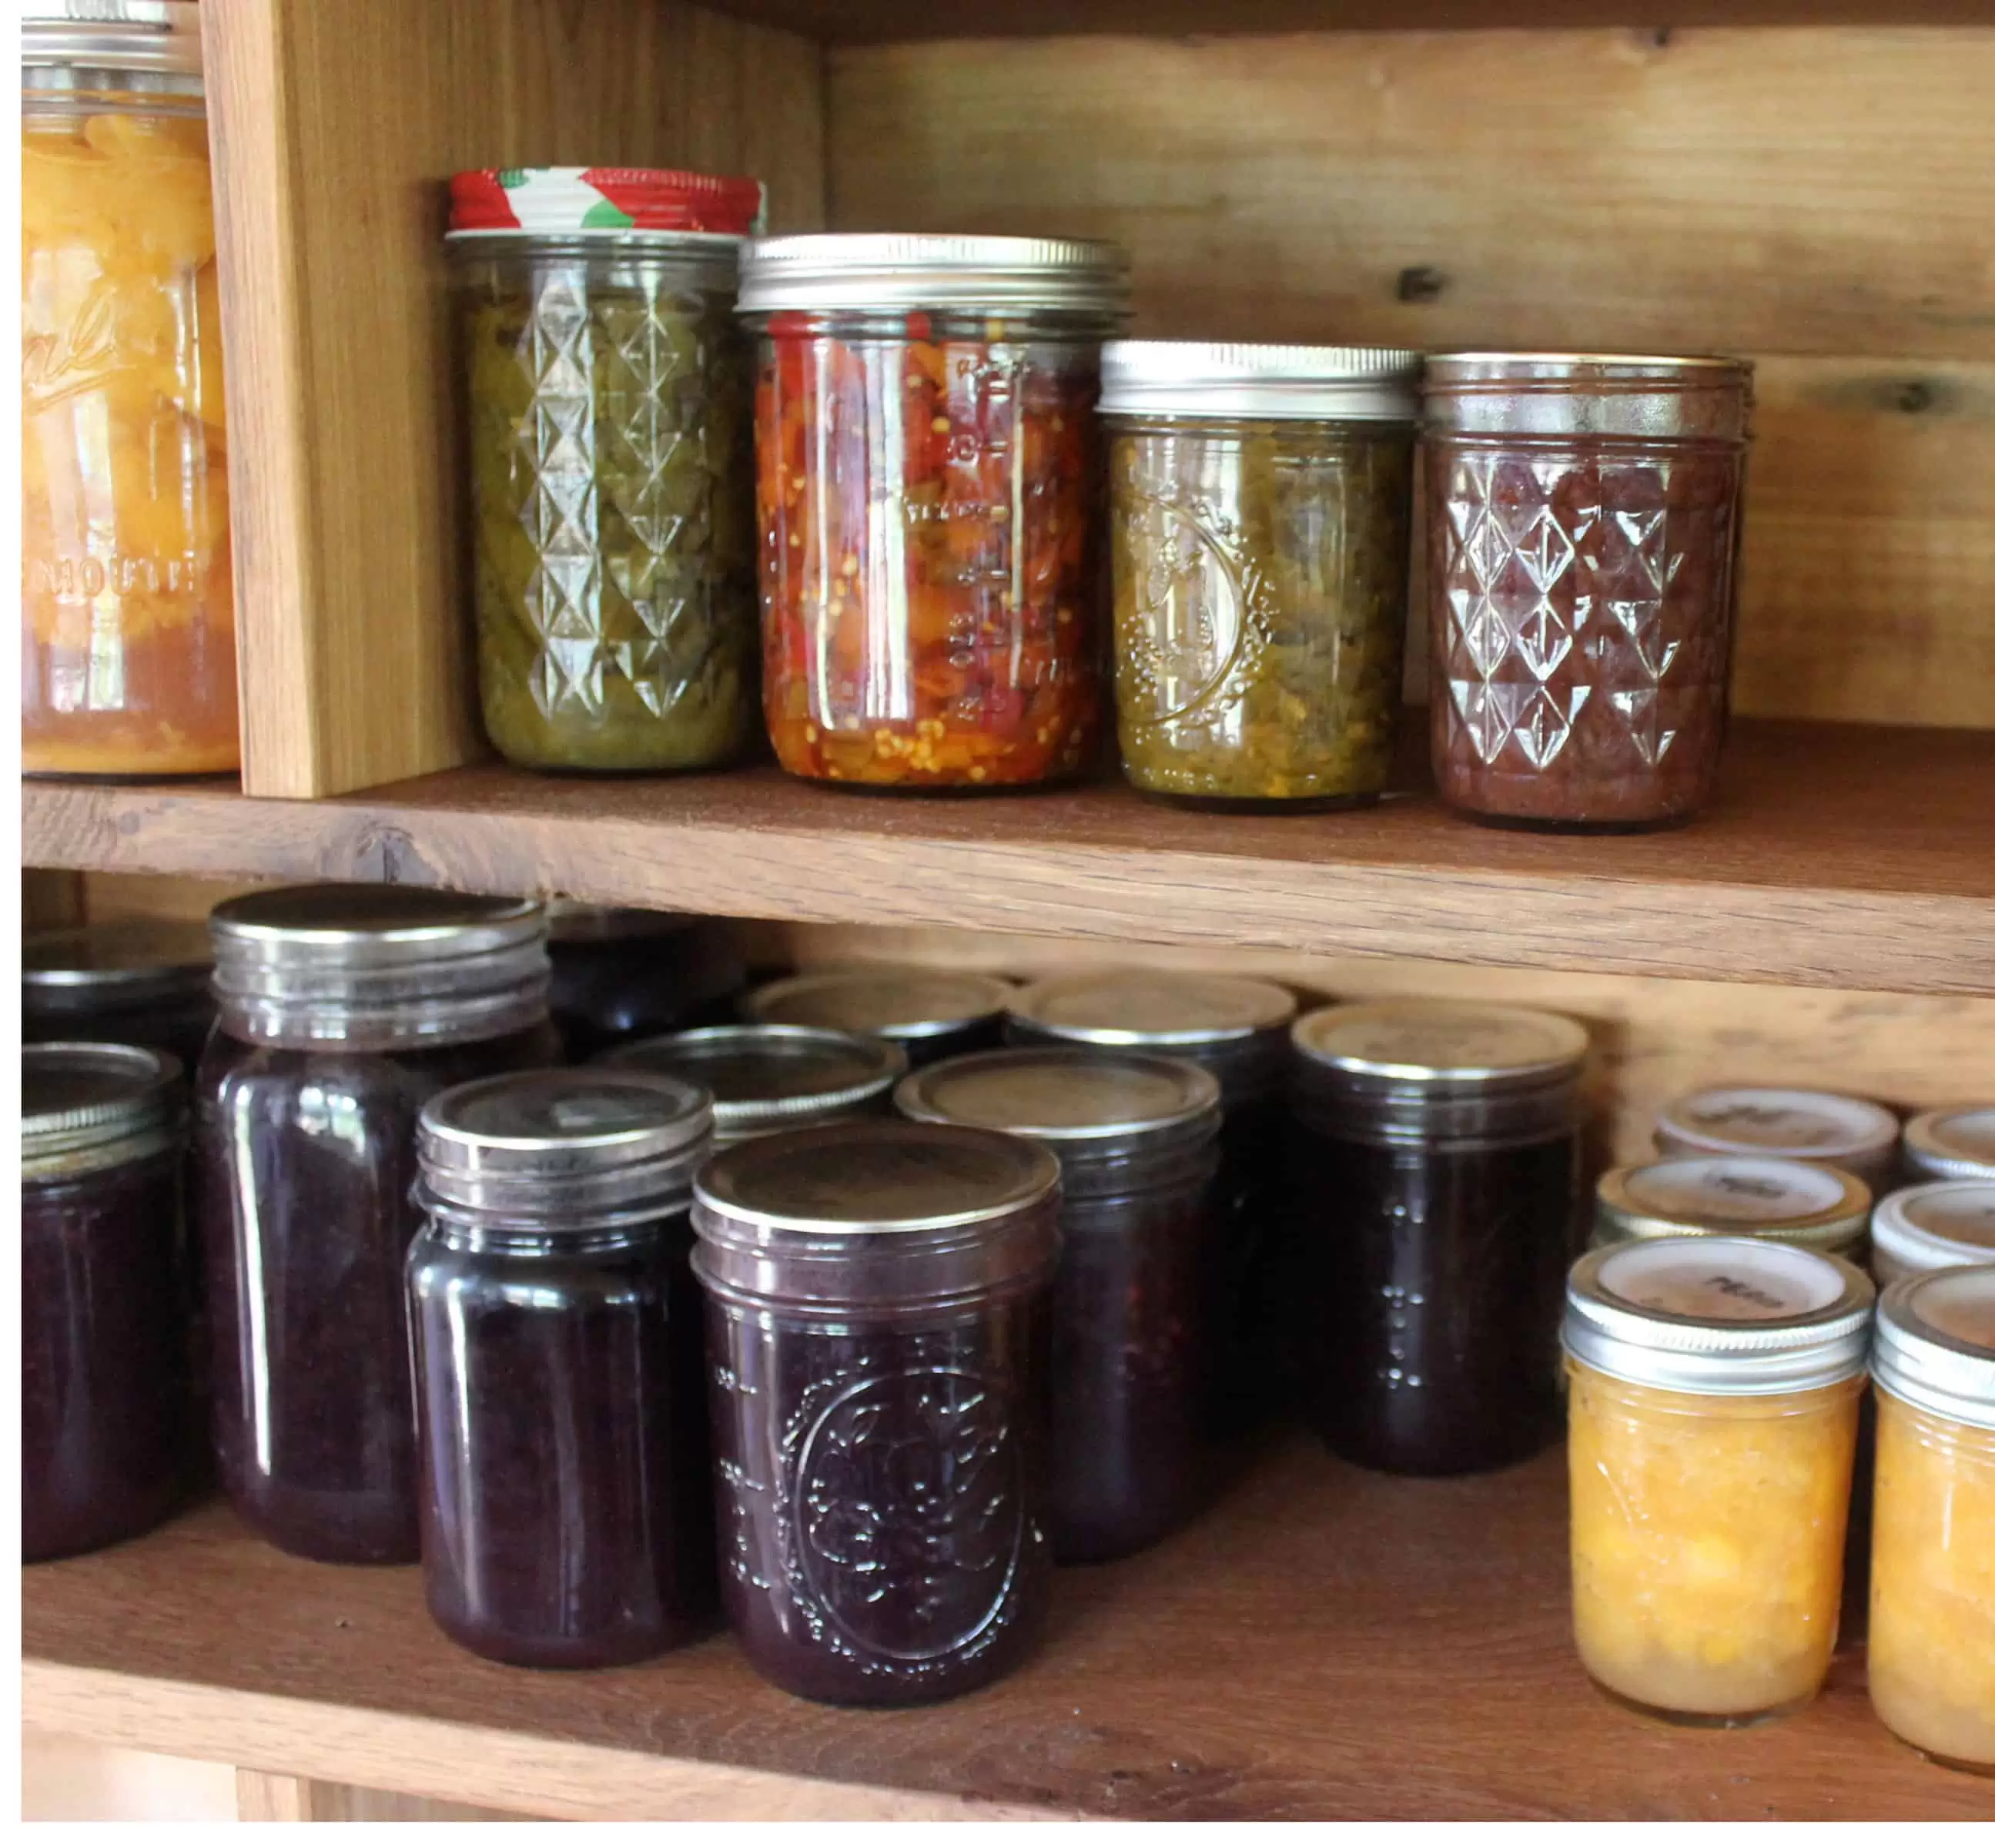
Each of these methods has its pros and cons: For instance, canning is a fantastic way to store food for long periods of time on a pantry shelf, but it requires time, equipment, energy input, and the very process of canning destroys some nutrients with high heat.
However, because of the appeal of putting up jams, jellies, fruits, sauces, pickles, and more, canning has enjoyed a bit of a modern day revival. In this module, we’ll talk about canning basics and how to make canning work for your schedule.
Canning 101
Hot Water Bath and Pressure Canning
There are two primary ways of preserving food via canning: Hot Water Bath and Pressure Canning. Both methods involve heating jars of food in a pot of hot water to sterilize and seal them.
The primary difference between the two methods is that hot water bath canning should only be used for high-sugar and high acid foods, while pressure canning can preserve a wider variety of foods.
Here’s why: Most food spoilers – molds, yeasts, and enzymes – will be destroyed at 212 degrees, the temperature of a boiling water bath. However, bacteria are not as easily killed; the spores of a particular bacteria, Clostridium botulinum, are not destroyed until a temperature of 240 degrees. These spores produce a poisonous toxin that causes botulism.
This is not included to frighten you off canning! Canning is fun and easy to learn, but you do need to choose the proper tool. A pressure canner brings the water bath temperature up to 240 degrees, and thus makes it safe to can virtually any food, including vegetables, soups, stews, and meats, whereas only high-sugar or high-acid foods (think jams, jellies, pickles) should be processed using a water bath canner.
Hot water bath canning is the less expensive option of the two, as you can use almost any very large pot. Pressure canning involves the purchase of a special pressure canner, which can cost a few hundred dollars. However, if you plan to do a lot of canning (and if you intend to venture beyond jams, jellies, or pickles), it may be a useful investment.
Before you start canning, you will need:
1) Canning jars with new lids (rings and jars can be reused, but lids should always be new in order to ensure a proper seal)
2) For water bath canning: A big pot– it must be big enough that you can put your filled jars in the pot and cover them with a few inches of water. OR For pressure canning: A pressure canner (Teri uses this All-American brand pressure canner).
A few quick tips:
- Sterilize your jars, especially if you are reusing jars. The best way to do this is to boil them in water for 10-15 minutes, but you can also sterilize jars in a dish washer.
- Keep your kitchen clean. Make sure everything you are using is washed with warm, soapy water. This includes counter tops, utensils, etc. The cleaner your kitchen, the less chance of contamination of your final product.
- Always use a recipe if you are new to canning. A good recipe has been tested to make sure that there is enough acid or sugar in the food to preserve it well.
- When pressure canning, check and double check that you have equipment in good working order, have read the canning directions thoroughly, and have fastened the equipment properly.
- After removing jars from the hot water, place them on a countertop or table for 24 hours. Any jars that do not seal should be stored in the refrigerator and eaten with the next week or so.
Some of our favorite home canning resources:
General Information:
The National Center for Home Food Preservation
Mother Earth News Home Canning Guide
Recipes and Information:
Putting Food By by Ruth Hertzberg, Janet Greene, and Beatrice Vaughan
Ball Complete Book of Home Preserving by Judi Kingry
Food in Jars: Preserving in Small Batches Year Round by Marisa McClellan
How-to Guides:
Pick Your Own Water Bath Canning Directions
Pick Your Own Pressure Canning Directions
Small Batch Canning
Many homesteaders thrive on canning large quantities of food to store for the winter. It’s not uncommon to see photos on Instagram or Facebook with a table full of finished quarts of applesauce or canned tomatoes.
But the reality is that canning takes time. And processing large batches of food often involves several steps – harvesting, chopping, cooking – before the actual canning even begins.
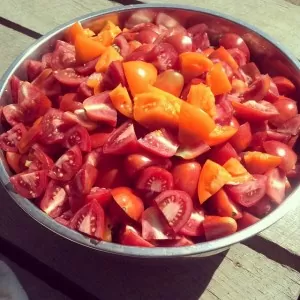
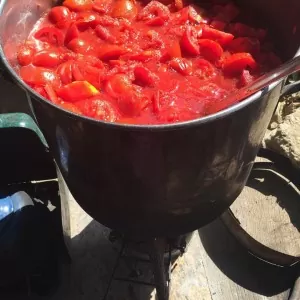
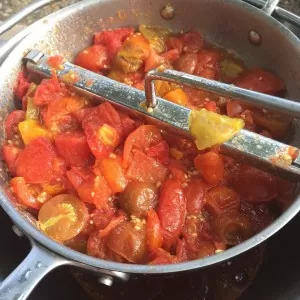
My family’s solution has been small-batch canning. Instead of trying to can all of our tomato sauce for the year in one chunk of time, we simply take a more slow and steady approach. Every week I harvest the ripe tomatoes in the garden, and chop them into chunks. I fill my two gallon stainless steel pot with tomatoes and pop it into the bread oven (you could use a crock pot too) for the night to cook down.
The next day, I spend 5 minutes running my tomatoes through a food mill, and whenever my husband or I are planning to be at the stove cooking a meal, we throw on a big pot of water to boil and heat our tomato sauce. 30 minutes later, we pour the sauce into a few quart jars and put them into the pot of boiling water to process. Because we’re only working with 3 or 4 quarts, the jars take only minutes to prepare, and we can fit the task into our daily meal preparation.
I know this method won’t work for everyone, and yes, we are likely spending more time overall on canning. But, using this method of small-batch canning has saved us from overwhelm. We RARELY have pockets of three or four hours, but we can sneak canning a few quarts of tomato sauce into our day. And if you can 4 quarts of tomato sauce every few days, it adds up quickly!
In this video, you’ll see Tatiana demonstrate how to small batch can tomato sauce.
Password: homestead kitchen
Canning Tomato Sauce from Tatiana Abatemarco on Vimeo.